A food processor is simple once you know four things: pulse instead of holding the button down, assemble it in the right order, match the blade or disc to the job, and never put your fingers near the feed tube. Master those and it chops, slices, shreds, purees, and makes dough in seconds. The single habit that separates good results from a bowl of mush is the first one — pulse in short bursts and check often rather than running the motor and hoping. This guide walks through the setup, the blades, the core techniques, and the safety and cleaning that keep the machine running for years.
None of this is proprietary technique. The steps below are the standard convention that manufacturers print in their manuals and that testers have taught for decades; the value here is having it in one place, in the order you actually need it.
Setup, step by step
Every full-size and mini processor assembles the same way, and the order matters — get it wrong and the machine simply won’t start.
- Assemble in order. Set the bowl onto the base and lock it, then drop the S-blade onto the center post before you add food, then add the food, then fit and lock the lid. Doing it in this sequence keeps the blade seated on its post instead of floating on top of the ingredients.
- Expect the interlock. Nearly every model has a safety interlock: it won’t spin until the bowl and lid are fully locked into position. If it won’t turn on, the fix is almost always a lid or bowl that isn’t seated — not a broken motor. Don’t try to defeat the interlock.
- Choose the right tool. Use the S-blade for chopping, pureeing, and dough. Use a slicing disc for even slices and a shredding disc for cheese, cabbage, and potatoes. The S-blade sits down in the bowl; discs mount on a stem near the top, and you feed food down through the tube onto them.
- Don’t overfill. Stop at the max-fill line, especially for anything liquid, or the bowl leaks and the chop comes out uneven. For big jobs, work in batches — two clean batches beat one overloaded one.
Food processor blades explained
Most machines ship with three cutting tools, and knowing which does what removes most of the guesswork.
- The S-blade (or “sabatier” blade) is the workhorse. It lives in the bottom of the bowl and handles chopping, pureeing, emulsifying, grinding nuts, and mixing dough. If you only ever use one attachment, it’s this one.
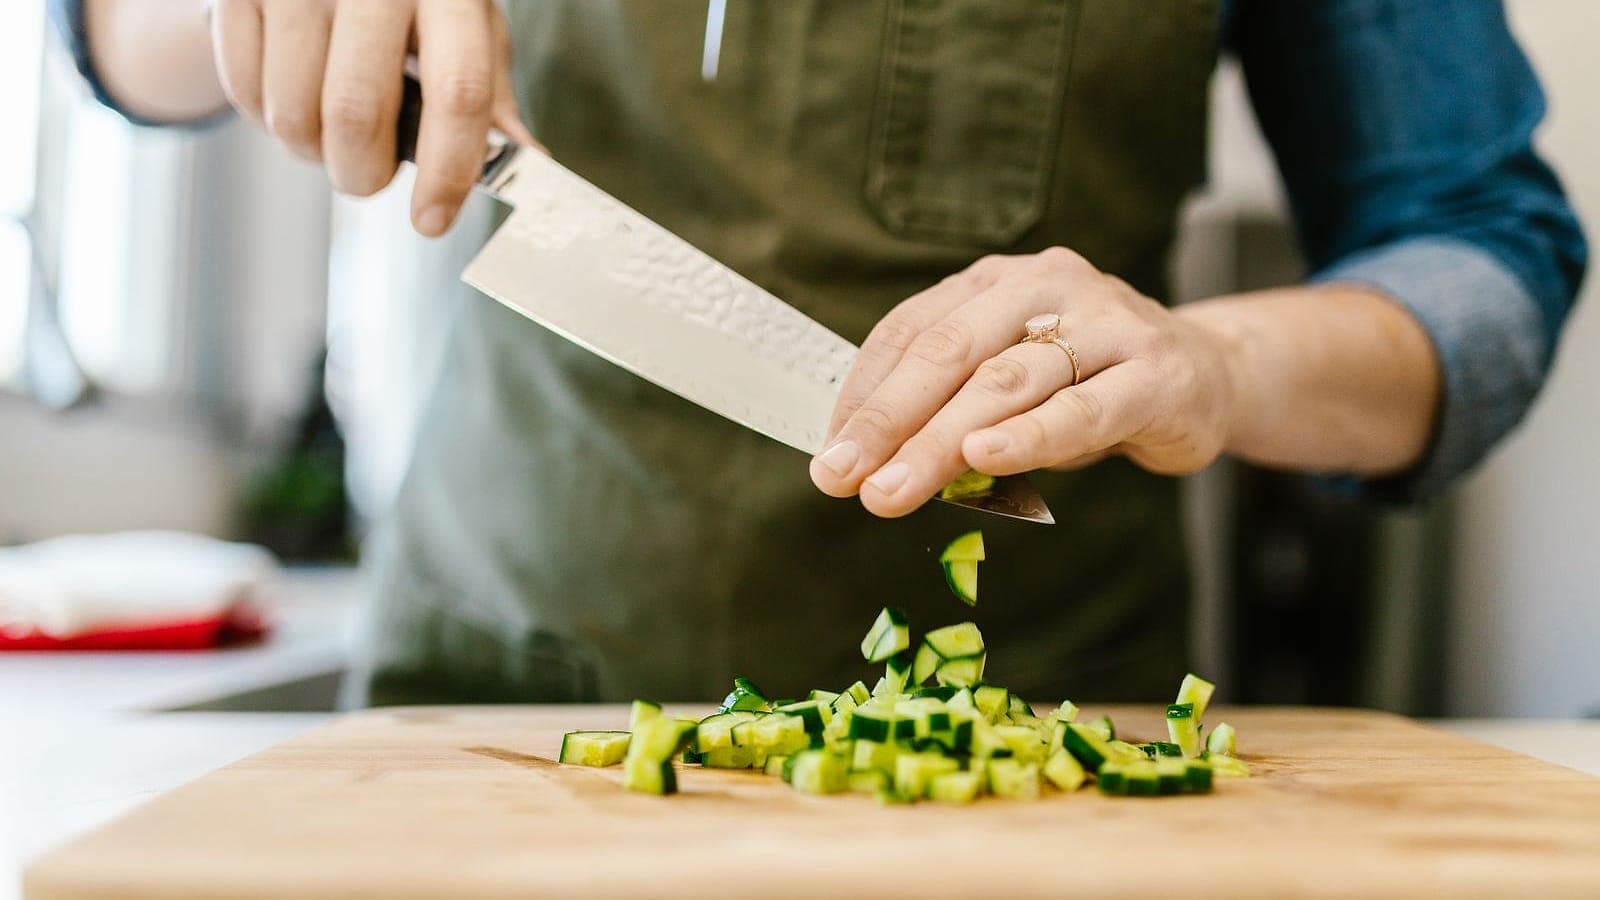
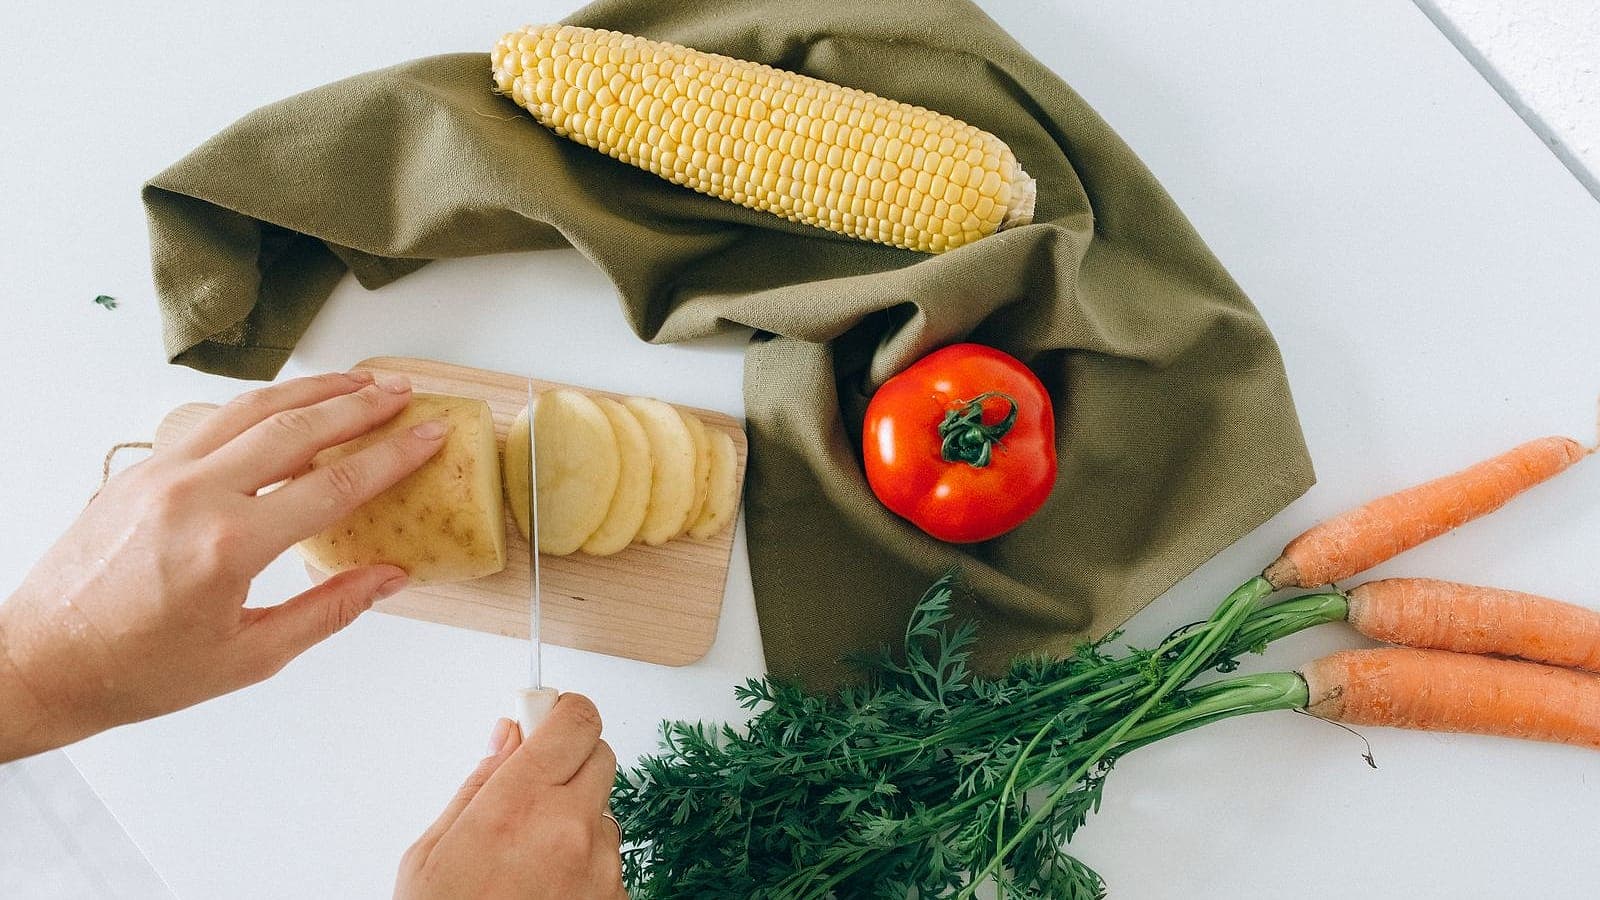
- The slicing disc produces even, uniform slices — think cucumbers, pepperoni, or potatoes for a gratin. It sits on the stem at the top of the bowl.
- The shredding disc grates in seconds: cheese, carrots, cabbage for slaw, potatoes for hash. Like the slicing disc, it mounts high and you push food through the feed tube.
Some machines add extras — a dough blade, a reversible or adjustable slicing disc, a whisk on cordless models — but the S-blade and the two discs cover the vast majority of everyday jobs.
Core techniques
Chopping
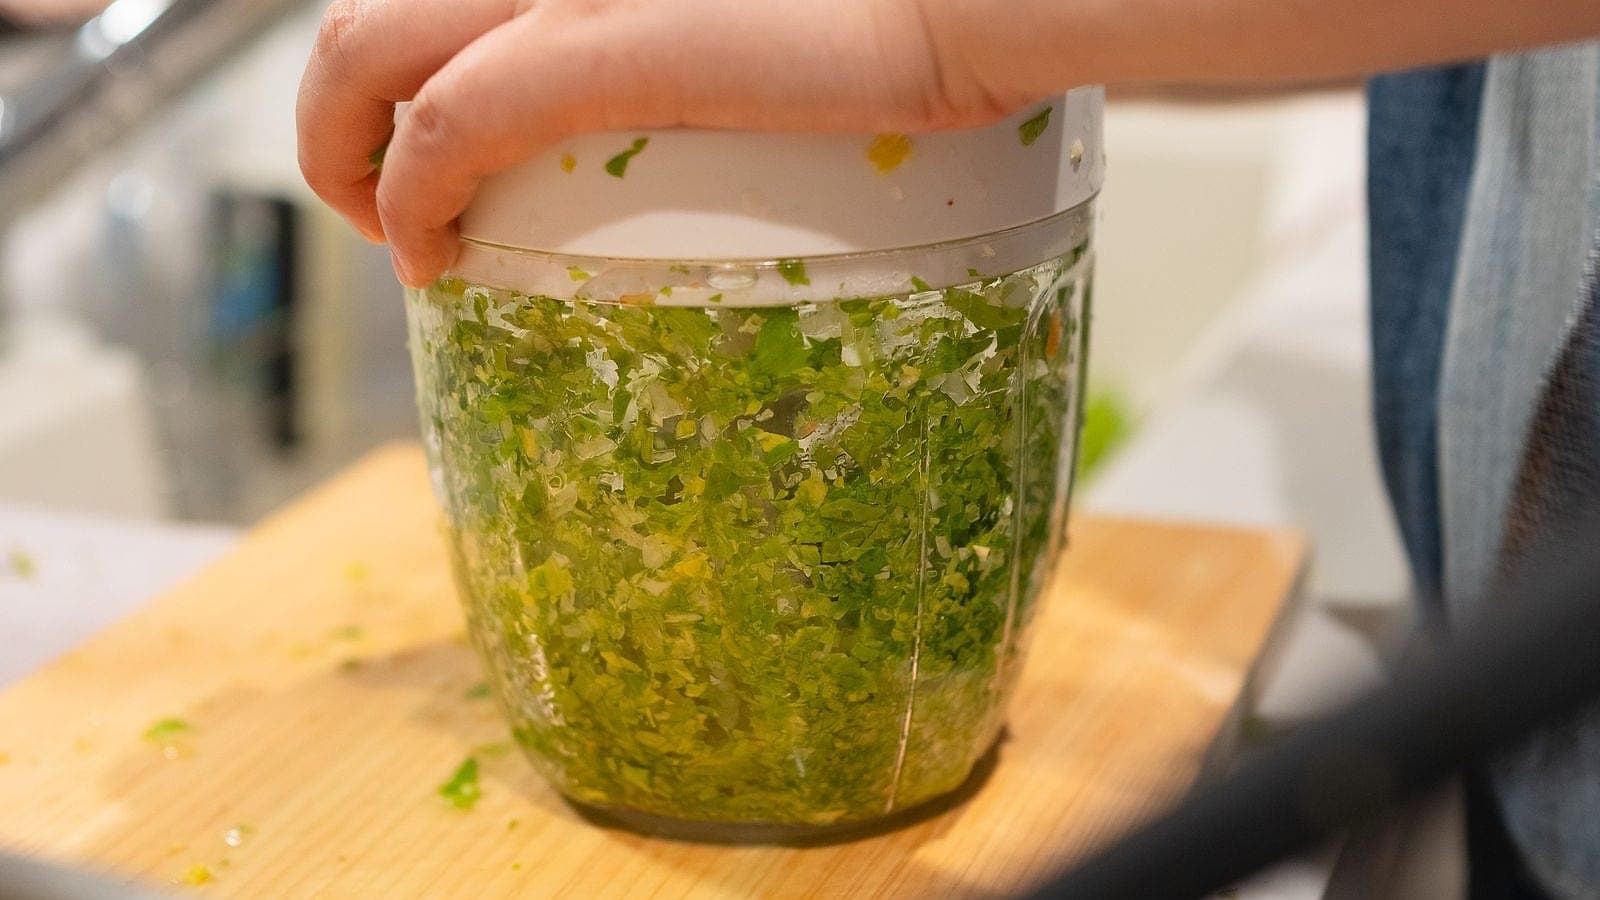
Pulse in one-second bursts, roughly five to ten times, checking the bowl between rounds. Steady running is the classic mistake: it turns onions into watery mush and chops the pieces near the blade to paste while leaving the top untouched. Pulsing tosses the food and gives you an even result — and lets you stop the moment the texture is right.
Pureeing (hummus, pesto, nut butter)
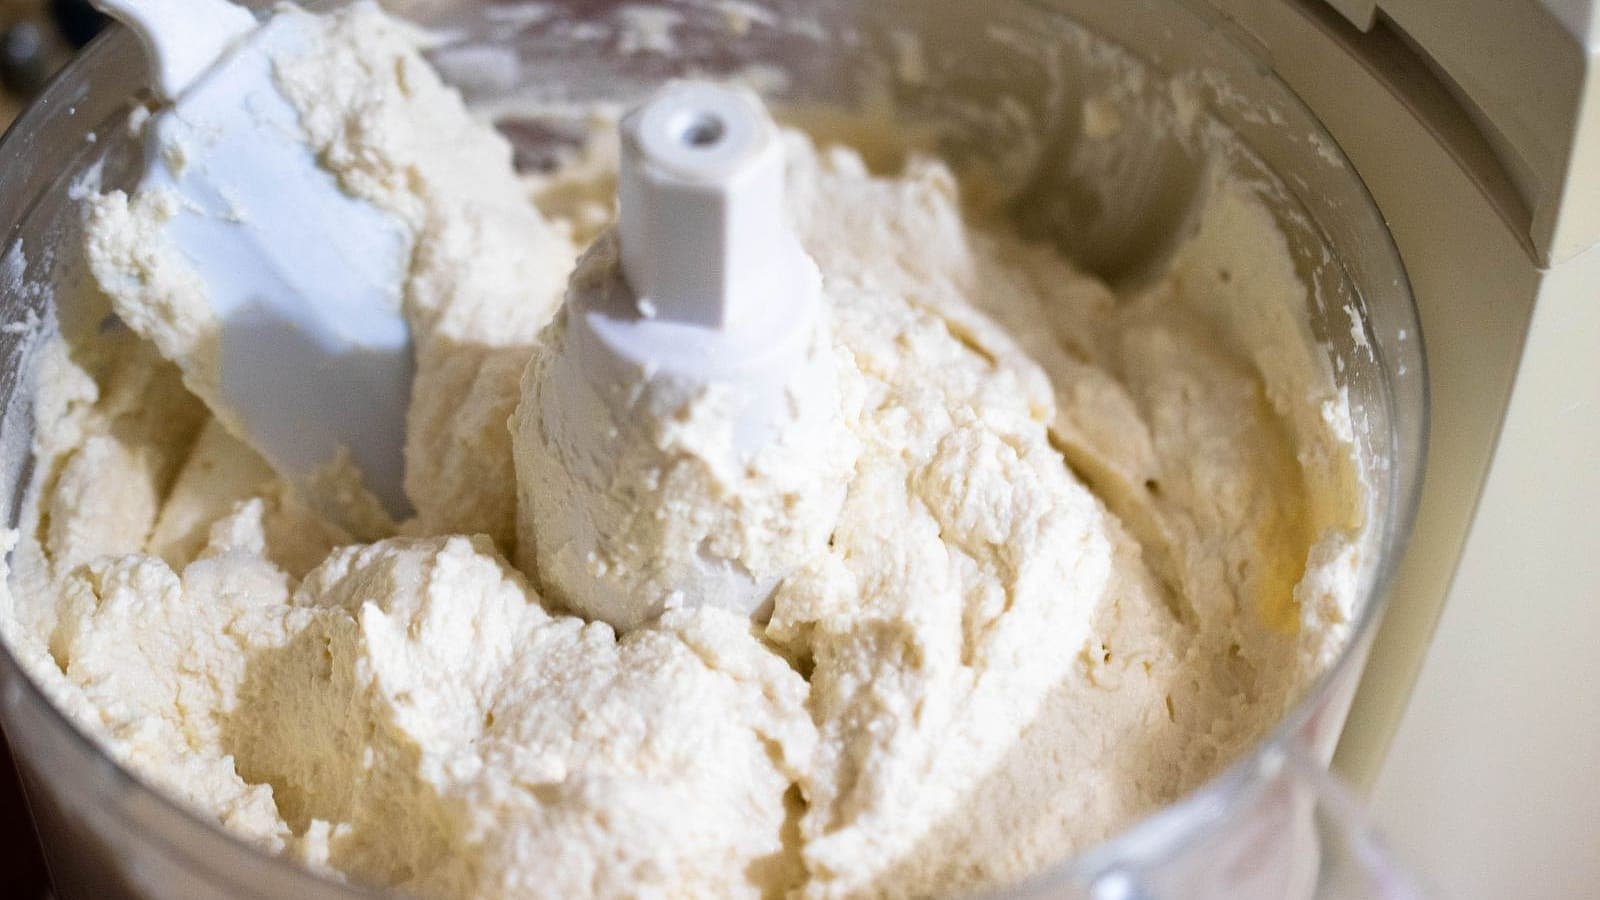
For thick purees you do run the motor continuously. Let it go, stop to scrape the sides of the bowl down once or twice, and drizzle oil or liquid through the feed tube to loosen things and pull the mixture together. This is where a processor shines over a blender — it handles thick, chunky loads like hummus and pesto that a blender’s vortex can’t grab.
Emulsions (mayonnaise, vinaigrette)
With the motor running, add the oil in a slow, thin stream through the feed tube. Adding it gradually is what lets the oil emulsify into a stable, creamy sauce instead of splitting. Dump the oil in all at once and it breaks — pour it slow and steady and it comes together.
Slicing and shredding
Fit the appropriate disc, then use the pusher to guide food down the feed tube with steady, even pressure. Even pressure gives even slices; jamming food through hard or leaning on it unevenly gives you ragged results. Keep your hands on the pusher, not near the tube.
Dough (pie and pizza)
Pulse cold butter into flour until the mixture looks sandy with pea-sized bits, then pulse in ice water just until it starts to clump. Stop early. The processor is fast, which is its advantage and its trap — over-processing develops gluten and turns short doughs tough. For pie and pizza dough it’s quicker than a stand mixer; for large, enriched, or long-kneaded bread doughs, a mixer is the better tool.
Safety
The rules here are simple and non-negotiable, and following them is genuinely easy once it’s habit.
- Handle blades by the hub. The cutting edges are extremely sharp. Pick blades and discs up by the plastic center hub, never by the edge.
- Use the pusher, always. Never put fingers — or a spatula, or a spoon — into the feed tube while the machine can run. That’s what the pusher is for.
- Unplug before you reach in. Before you clear a jam or scoop out contents, unplug the machine. Don’t rely on the switch alone.
- Respect the interlock. It won’t run unlocked by design; don’t rig it to run open.
- Let it stop. Wait for the blade to come to a complete stop before you remove the lid.
Cleaning and care
Clean up is easiest when you do it immediately. Rinse or wash the parts right after use, before food dries on and cements itself into the corners.
On most models the bowl, lid, blades, and discs are top-rack dishwasher-safe, though you should check your own manual to be sure. The one part that never goes in water is the motor base — wipe it down with a damp cloth and never submerge it. Store the sharp S-blade carefully; many bowls have a dedicated spot to park it so it isn’t loose in a drawer. For stuck-on bits or lingering smells (garlic is the usual culprit), a quick “clean run” with warm, soapy water and a few pulses loosens most of it, and a baking-soda paste helps with odors.
Common mistakes and fixes
| Problem | Fix |
|---|---|
| Food turns to mush | Pulse in short bursts; don’t run the motor continuously. |
| Uneven chop | Don’t overfill — work in batches so everything meets the blade. |
| Bowl leaks | You went past the max-fill line, or the liquid is too thin (use a blender for that). |
| Dough comes out tough | You over-processed; pulse in the water just until it clumps, then stop. |
| Won’t turn on | The lid or bowl isn’t fully locked — the interlock is doing its job. |
| Lingering garlic or onion smell | Wash immediately; a baking-soda paste helps clear odors. |
What it can (and can’t) do
A food processor is a prep powerhouse, but it isn’t a do-everything machine, and knowing its limits saves frustration. It won’t make a smooth smoothie or a silky soup — that’s a blender’s job (see our best blenders guide and the deeper blender vs. food processor breakdown). It also isn’t ideal for whipping cream or kneading large bread doughs, which is where a stand mixer earns its counter space.
Not sure a processor is even the right tool for how you cook? Our guide to whether you need a food processor walks through the decision. And if you’re ready to buy, start with the best food processors overall, or — for herbs, garlic, and small-batch jobs — the best mini food processors.