How to Grind Coffee: Grind Size by Brew Method
Grind size is the single biggest lever you control on a daily basis. Beans, water, and brew ratio matter, but they’re mostly set once you buy the bag and pick a method. Grind size is the thing you adjust every time — and getting it wrong is the most common reason a cup tastes sour, weak, muddy, or bitter even when everything else is right.
The good news is that you don’t need a lab to get this right. Coffee people have converged on a fairly consistent set of relative grind targets by brew method, and the rest is a simple loop: pick a reasonable starting point, brew, taste, adjust.
Cookloom is reader-supported. If you buy through links on this page we may earn a commission, at no extra cost to you. We recommend gear on the merits — see our editorial policy.
Grind size by brew method
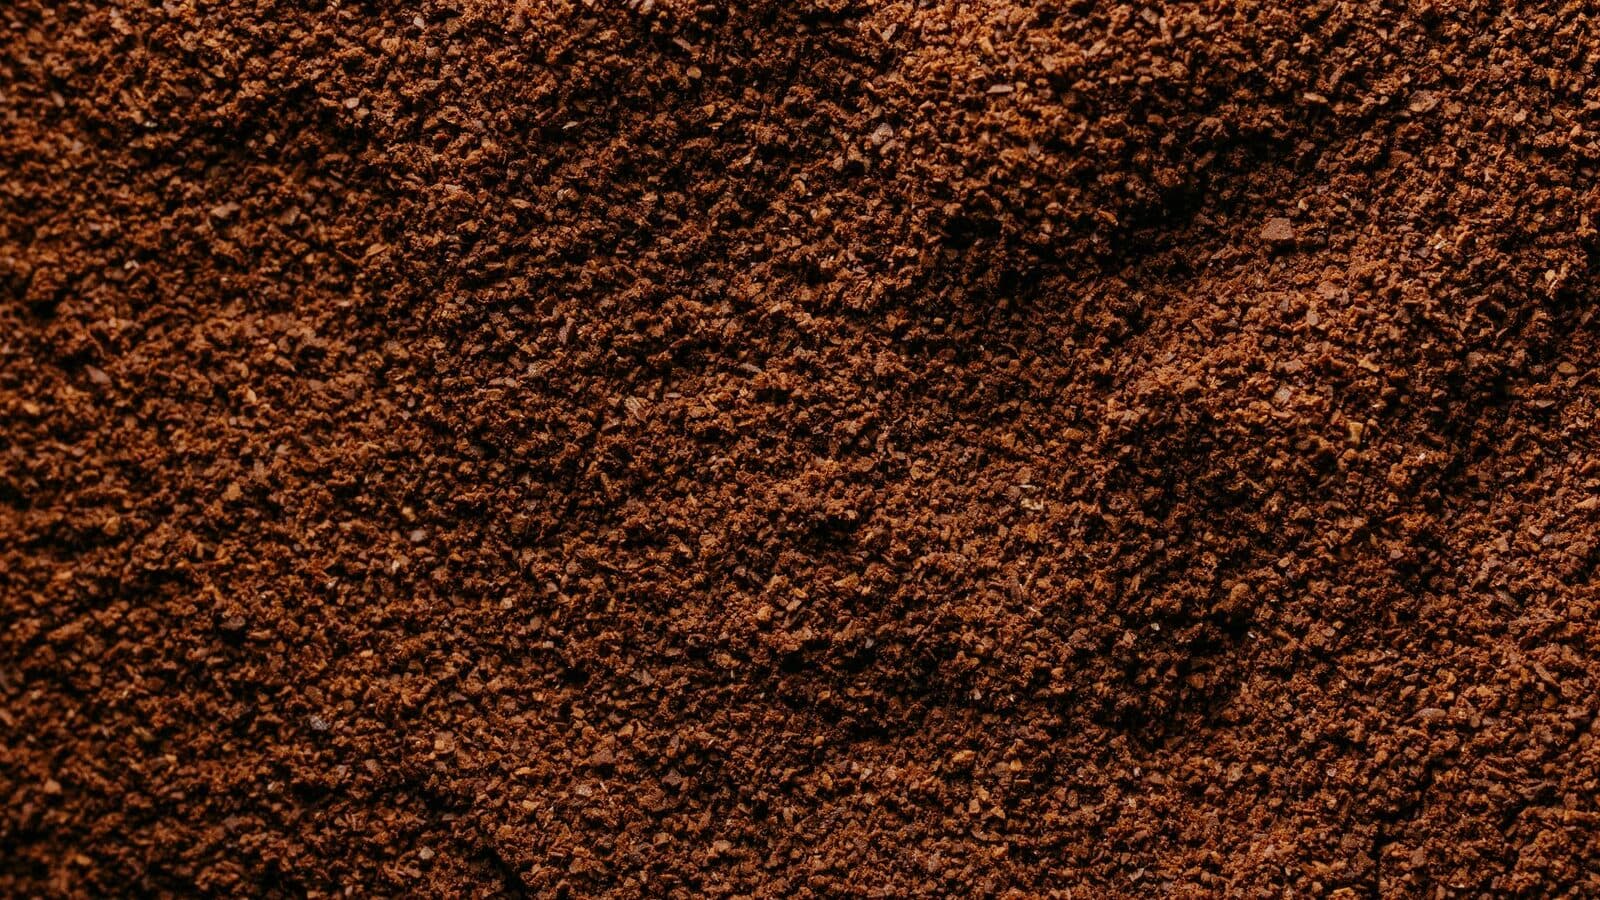
Think of these as starting points, not fixed rules — every grinder’s numbered settings are calibrated a little differently, and bean density and roast level shift things too. What’s consistent is the relative texture.
| Method | Grind | Looks/feels like |
|---|---|---|
| Espresso | Fine | Powdery, almost like flour |
| Moka pot | Fine to medium-fine | Finer than table salt, coarser than espresso |
| Pour-over (V60, Kalita Wave) | Medium | Table salt |
| Drip machine | Medium | Table salt |
| Chemex | Medium-coarse | Between table salt and sea salt |
| French press | Coarse | Sea salt or coarse kosher salt |
| Cold brew | Extra coarse | Breadcrumbs, or coarse-ground pepper |
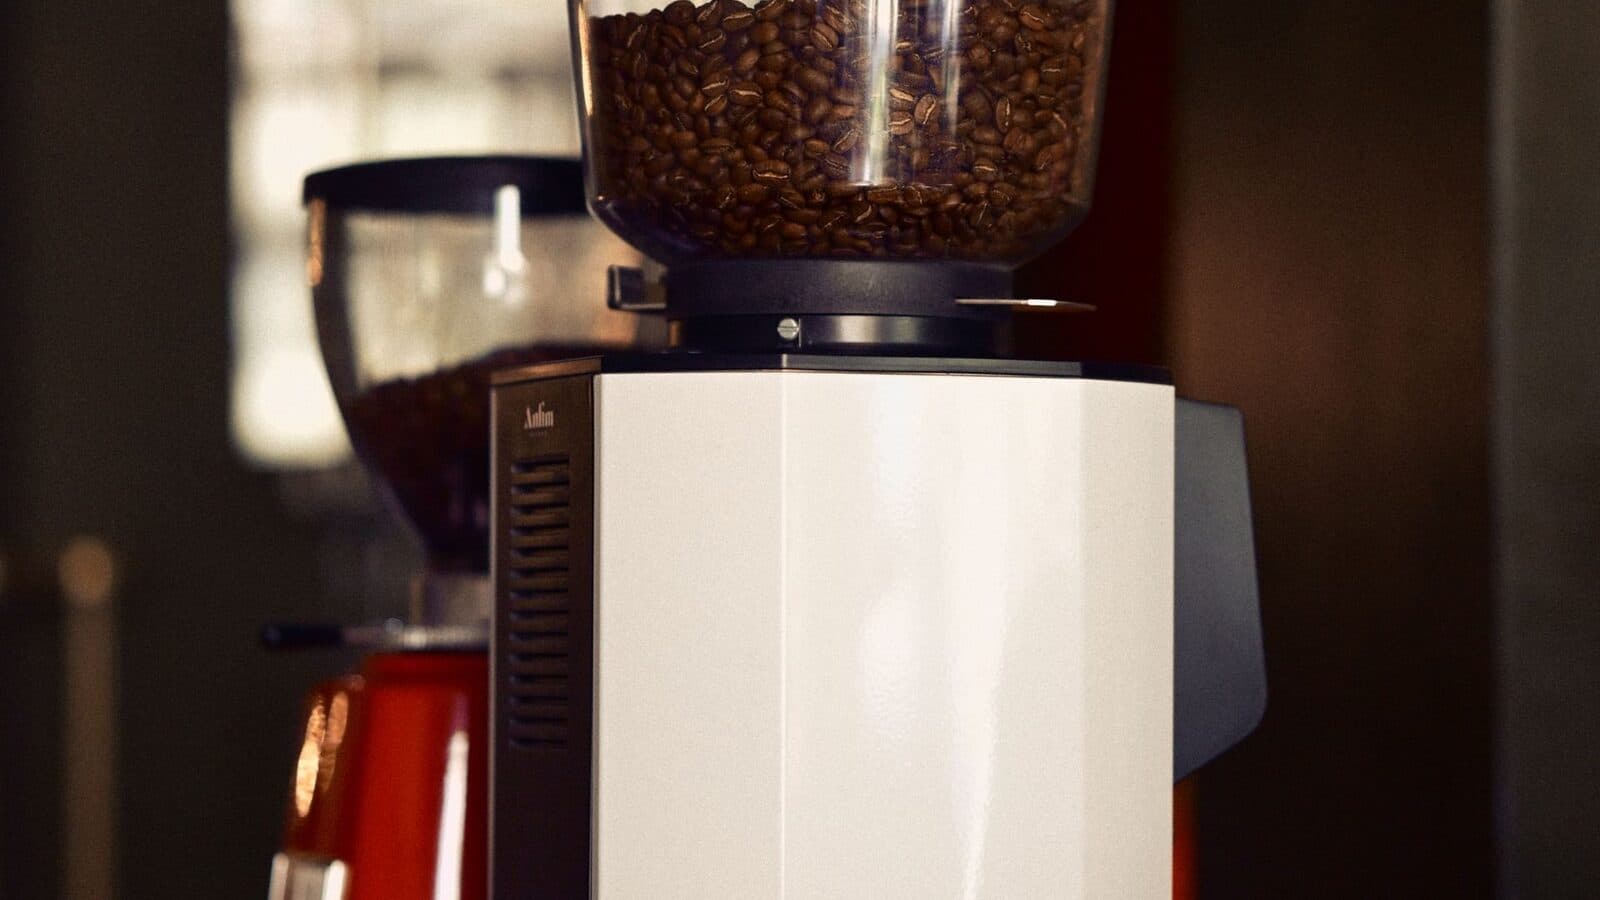
A burr grinder is what makes this chart usable at all. Burrs crush beans between two surfaces set to a fixed gap, so a given setting produces a consistent particle size you can repeat. Blade grinders chop unevenly, mixing dust with chunks no matter how you shake the hopper, so “medium” isn’t really a repeatable target on one. Our best coffee grinders guide breaks down which models suit which methods.
Step 1 — Match your grind to your brew method
Start from the table above and pick the grind that matches how you’re brewing. The logic is contact time and filtration. Espresso forces water through in under 30 seconds at high pressure, so it needs a fine grind for enough resistance and surface area in that short window. Cold brew sits with water for 12 to 24 hours, so it needs a coarse grind — fine grounds would over-extract into something muddy, and would be a nightmare to filter out.
Everything in between scales the same way. Pour-over and drip use paper filters and a few minutes of contact time, so medium is the sweet spot. French press has no paper filter, just a metal mesh, so it needs a coarse grind that won’t slip through and leave your cup gritty with sediment. (Mesh gauge varies a bit by model — see our best French press guide.)
Worth knowing before you buy beans: many filter-oriented grinders don’t reach true espresso fineness. The Baratza Encore is a good example — it’s the long-standing default recommendation for a first filter grinder, but its standard range is built for drip and pour-over, which is why Baratza sells a separate ESP variant for the fine end.
Step 2 — Grind right before you brew
Ground coffee stales fast — much faster than whole beans. Grinding multiplies the surface area exposed to oxygen, so aromatics that took weeks to develop can fade within minutes. Even good pre-ground coffee is already past its best by the time you brew it.
The fix is simple: grind only what you’re about to brew, right before you brew it. For most people, this single habit is the biggest upgrade a new grinder delivers.
Step 3 — Weigh it, or at least be consistent
A kitchen scale removes the biggest source of day-to-day inconsistency: how much coffee actually went into the brew. Scooping “looks about right” varies more than most people expect, and a gram or two off can shift a cup from balanced to weak or overpowering.
You don’t strictly need a scale, but you do need to be consistent about something — a level scoop, a marked dose cup, whatever you can repeat. Grinder quality matters here too: a good burr grinder produces a tighter particle-size distribution at a given setting, with fewer stray “fines” (ultra-fine dust that over-extracts into bitterness) and fewer oversized chunks. That evenness is what lets a repeatable dose produce a repeatable cup.
Step 4 — Start at a sensible setting and brew a reference cup
Pick a mid-range setting for your method — using the table above as a guide — and just brew. Don’t overthink the first cup; its job is to give you a baseline to taste and adjust from, not to be perfect. If you’re new to a specific method, our how to make pour-over coffee guide walks through the full process end to end, including where grind fits into the pour, and our best pour-over coffee makers roundup can help if you’re still choosing a dripper.
Step 5 — Read the cup and adjust by taste
This is the step that actually teaches you to grind well. Taste the coffee and match what you notice to a likely cause:
- Sour, thin, watery, or “sharp” usually means under-extraction. The water moved through the grounds too quickly to pull out enough flavor. Grind finer, or extend the brew time if your method allows it.
- Bitter, harsh, ashy, or dry-tasting usually means over-extraction. The water spent too long in contact with too much surface area, pulling out compounds that taste unpleasant. Grind coarser.
- Balanced, sweet, and clear means you’re close. Small tweaks from here are about preference, not correction.
The single most important habit here is changing one variable at a time. If you adjust grind size, dose, and water temperature all in the same brew, you’ll have no idea which change actually fixed (or broke) the cup. Move one dial, brew, taste, and only then decide on the next move.
Step 6 — Dial espresso in by shot time
Espresso rewards this same loop, just with a stopwatch. Because a shot runs in under 30 seconds, small grind changes show up immediately in flow rate: too coarse and the shot runs fast and sour; too fine and it crawls or chokes and turns bitter. Baristas call this “dialing in,” and sacrificing a shot or two per new bag of beans while you find the right setting is normal — it’s how espresso is actually calibrated, not a mistake.
This is also where grinder quality matters most, since espresso needs a fine enough range plus small, closely spaced adjustment steps to hit a narrow target. For the full walkthrough on ratios and timing, see how to pull a perfect espresso shot; for a grinder built to reach and hold that range, see our best coffee grinders for espresso guide — general-purpose grinders often aren’t built for it.
Step 7 — Keep your grinder clean and happy
Coffee oils and fines build up in a grinder’s burrs and chute over time, and stale grounds sitting in that residue can taint fresh coffee with rancid, muddy notes. A quick brush-out of the hopper, chute, and burr chamber every so often keeps flavor consistent and prevents clogging.
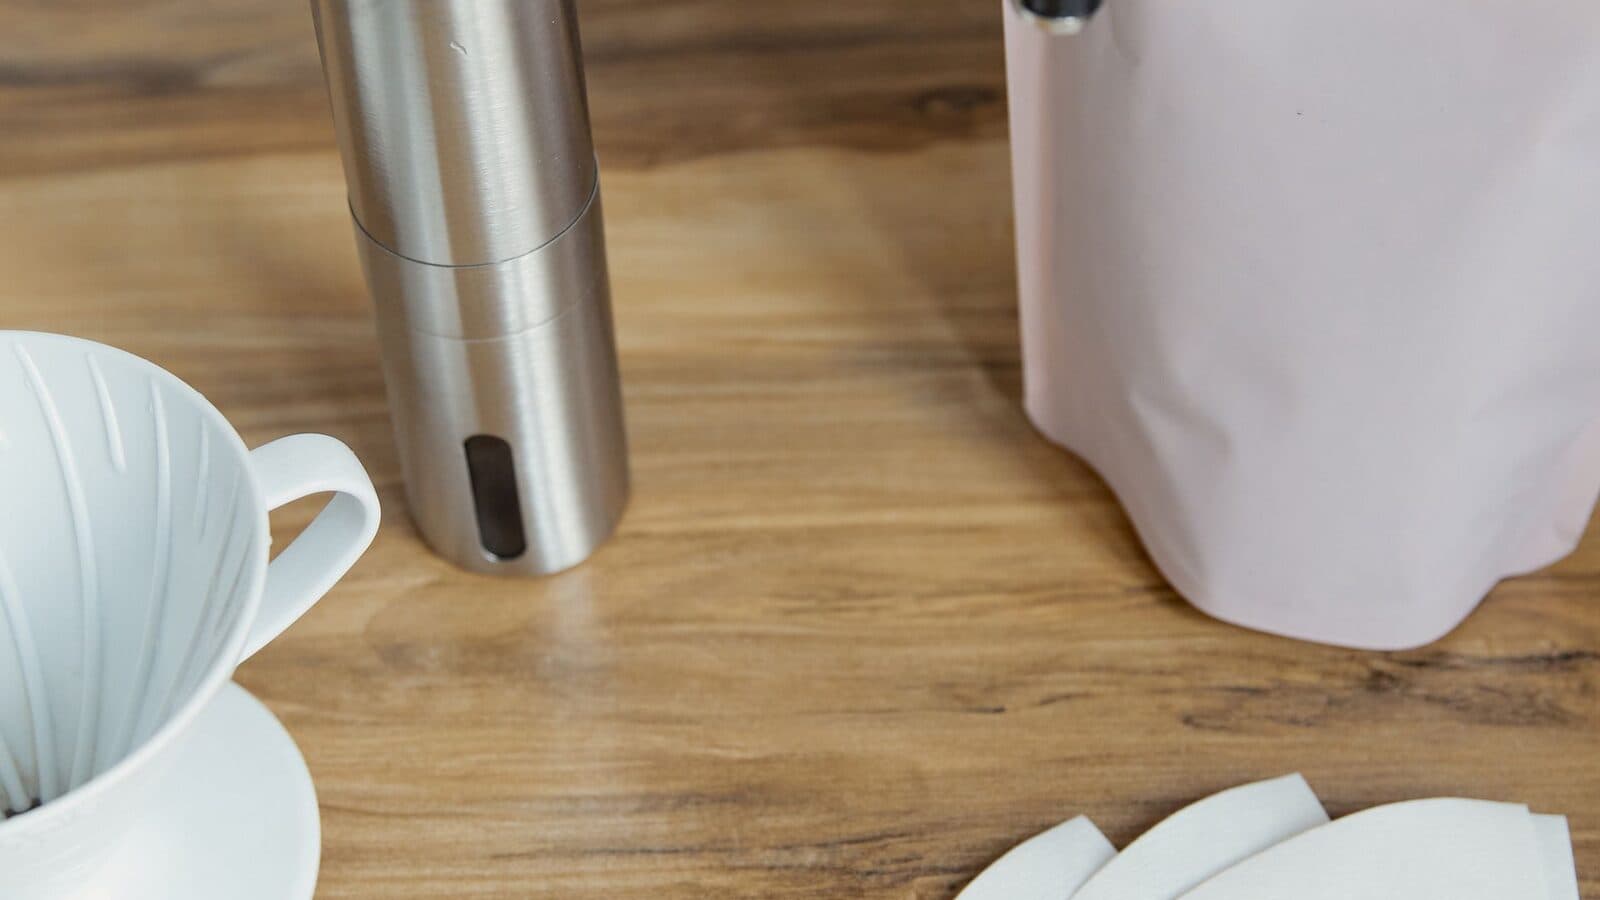
Manual grinders have a real edge here: their smaller, more open burr chambers are quick to strip down and brush clean, with no motor to work around. The Comandante C40 is a widely cited benchmark hand grinder partly for this reason — its geared burr set covers the full range from espresso-fine to French-press-coarse while staying simple to keep clean, useful if you brew more than one method.
Troubleshooting quick hits
- Muddy, bitter, or harsh cup: Grind coarser. Also check your dose isn’t too high for the water volume.
- Thin, sour, or weak cup: Grind finer, or extend contact time (longer steep, slower pour).
- Espresso clogging or barely dripping: Grind coarser in small steps and re-pull; a stuck shot is almost always too fine.
- Static, clumping, or mess around the grinder: Common with very dry beans and single-dose grinders. A few drops of water on the beans before grinding (the “Ross Droplet Technique” some baristas use) or letting beans rest a day or two after roasting can help.
- Inconsistent cup from the same setting: Check for burr wear or built-up residue before you blame the recipe — a dirty or dulling grinder drifts over time even at a fixed setting.
Sources
- Manufacturer specifications and documentation for the grinders named in this guide
- Widely referenced coffee-extraction fundamentals (contact time, particle-size distribution, under- versus over-extraction)
- General coffee-gear editorial and testing coverage, including outlets such as James Hoffmann, Serious Eats, Wirecutter, and Prima Coffee, where their guidance reflects broad consensus rather than a single source’s opinion