A great espresso shot comes down to a repeatable recipe and one master variable: the grind. The standard specialty-coffee target is a 1:2 ratio — about 18 grams of coffee in a double basket yielding about 36 grams of espresso in roughly 25 to 30 seconds. Nail fresh beans, an even grind, a level tamp, and that ratio-and-time window, and you’ll pull café-quality shots at home. The honest takeaway that separates good espresso from frustrating espresso: when something tastes off, you almost always fix it by adjusting the grind, not by changing everything at once.
That’s the whole game. Everything below is how to hit that target reliably, and how to read a shot when it misses.
The recipe at a glance
These numbers are the widely taught specialty-coffee convention, not a secret formula. Treat them as your starting point, then adjust to taste.
- Dose: about 18 g of coffee in a double basket. Weigh it — a scale is the cheapest upgrade to consistency you can make.
- Grind: fine. Specifically, fine enough that ~18 g takes 25 to 30 seconds to yield ~36 g. Grind fresh, right before you pull.
- Distribute and tamp: break up any clumps and level the grounds, then tamp firm and level. Consistency matters far more than brute strength.
- Yield and time: aim for roughly 1:2 — about 18 g in, about 36 g out — in 25 to 30 seconds. Weigh the output.
- Taste and adjust: sour, thin, or too fast means grind finer; bitter, harsh, or too slow (choked) means grind coarser. Change one variable at a time and re-pull.
Why the grind is the master variable
If you take one idea from this guide, make it this: the grind controls almost everything about a shot. Espresso forces hot water through a compressed bed of very finely ground coffee at high pressure. How fine you grind decides how much resistance that water meets — and therefore how fast the shot runs, how much actually dissolves out of the coffee, and how the cup tastes.
Grind too coarse and water rushes through, under-extracting the coffee: the shot runs fast, tastes sour and thin, and often shows little crema. Grind too fine and water struggles through, over-extracting: the shot crawls or chokes, and tastes bitter and harsh. The sweet spot in between is where the ratio and time line up and the flavor turns balanced and sweet.
Serious Eats’ guidance on making espresso underscores this same point — grind is the lever you reach for first, because it moves both extraction and flow at once. That’s also why nearly every espresso expert repeats the same refrain about equipment: the grinder matters more than the machine. A capable grinder with small, repeatable adjustment steps is what lets you actually find and hold that sweet spot. If you’re weighing where to spend, our guide to the best coffee grinders for espresso is the highest-leverage read in this whole cluster.
Pull a shot, step by step
Once your recipe is set, the routine is quick and rhythmic. Here’s the full sequence.
1. Start with fresh beans
Use beans rested roughly one to four weeks off roast. Stale beans (months old) go flat and lifeless; beans that are too fresh — just a day or two off roast — release so much carbon dioxide that they gush and channel, fighting you the whole way. That one-to-four-week window is where beans behave.
2. Weigh your dose
Weigh about 18 g into your double basket. Eyeballing it is the single biggest source of shot-to-shot inconsistency, because a gram or two changes the resistance and throws off your timing. A scale removes the guesswork.
3. Grind fresh and fine, straight into the portafilter
Grind immediately before pulling — ground coffee stales within minutes. Dose it directly into the portafilter basket so nothing is lost in transfer.
4. Distribute
Break up clumps and level the coffee bed so it’s even edge to edge. An uneven bed sends water racing through the thin spots, which is exactly what you’re trying to prevent.
5. Tamp level
Press down with steady, moderate pressure, keeping the tamper flat. Level is the goal, not force — a tilted tamp leaves one side denser than the other, and water will always take the path of least resistance and drill through the loose side. That’s channeling, and it wrecks a shot.
6. Purge, lock in, and start the shot and a timer
Run a quick flush of water through the empty group head to stabilize temperature, then lock the portafilter in. Start the pump and your timer at the same moment.
7. Watch the pour
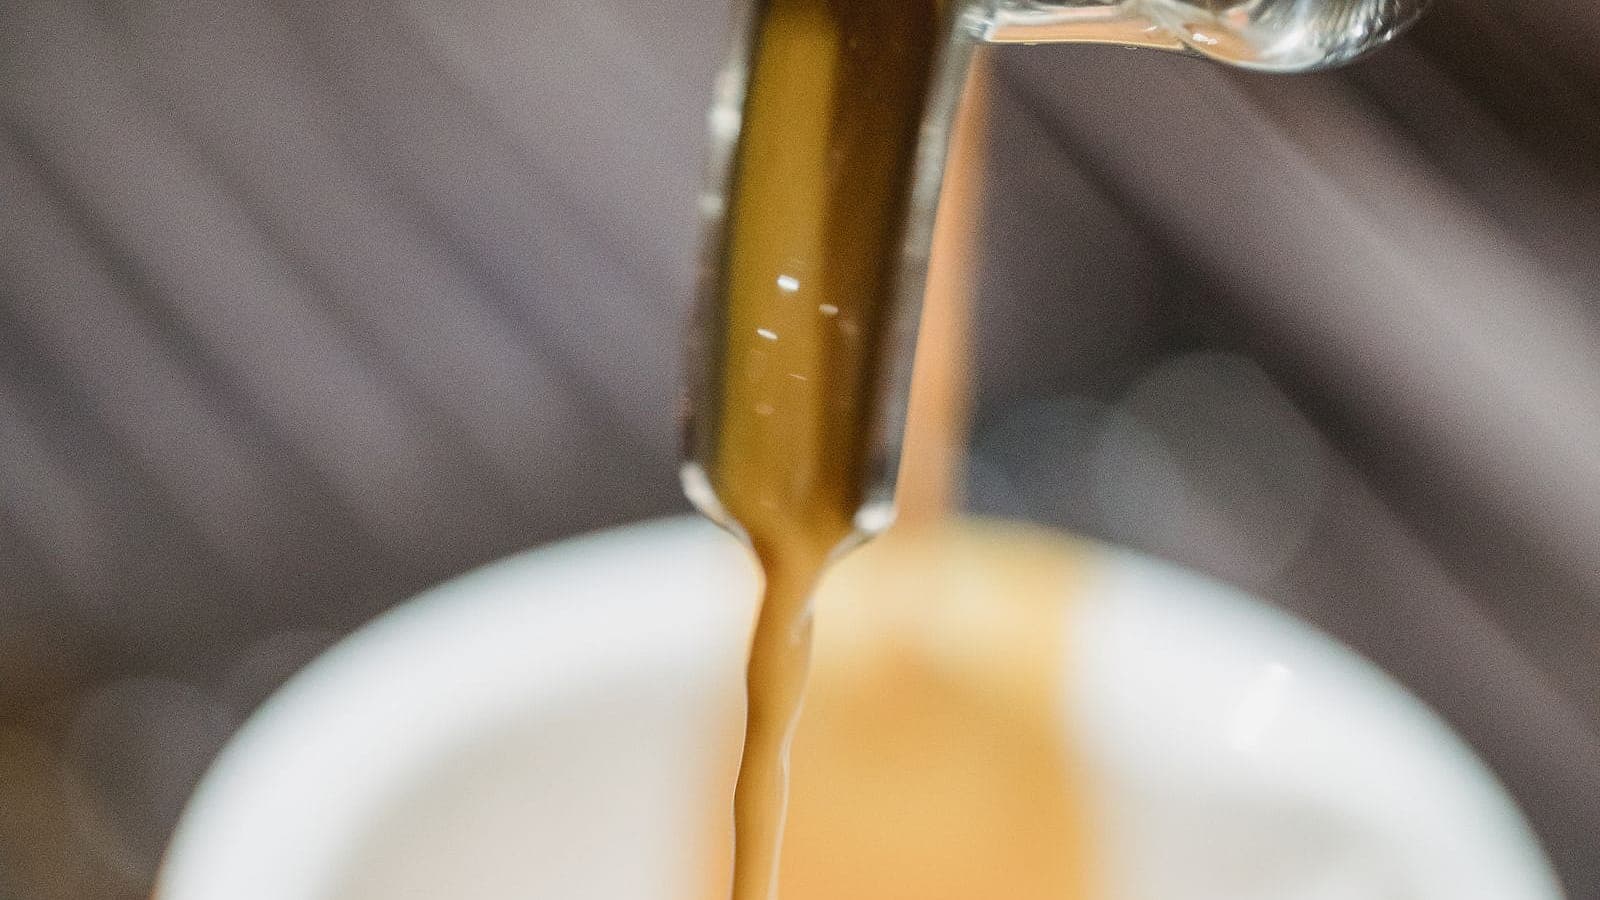
A good shot starts dark and thick — “mousey,” almost dripping — then, after a few seconds, settles into a steady stream that flows like warm honey. If it blonds out and turns pale and fast early, it’s running too quick. Aim to reach your target yield inside the time window.
8. Weigh the shot, taste, and adjust
Stop at about 36 g and check the clock. Taste it. Then use the result to decide your next grind move — and re-pull. This last step is where espresso is actually learned.
Dialing in: the part nobody warns you about
Here’s the thing most beginners aren’t told: every new bag of beans needs “dialing in.” Different beans — different roast level, density, age, origin — behave differently, so the grind setting that was perfect last week will rarely be perfect for a fresh bag. Dialing in means making small grind adjustments until the ratio hits the time window and the shot tastes right.
The workflow is simple and forgiving:
- Pull a shot at your best-guess grind and note the time and yield.
- If it ran too fast and tasted sour, grind a little finer. If it ran too slow and tasted bitter, grind a little coarser.
- Re-pull, changing only the grind. Repeat until it lands.
Expect to sacrifice a couple of throwaway shots per bag while you zero in. That’s not failure — it’s the normal cost of espresso, and every café does the same thing at open. It’s also the practical reason the grinder matters so much: a grinder with fine, closely spaced adjustment steps lets you make the small moves that dialing in requires. A grinder with big, coarse jumps overshoots the target in both directions and makes the whole process maddening.
Common espresso faults and how to fix them
When a shot misses, resist the urge to change three things at once. Match the symptom to the most likely cause, make the one adjustment, and re-pull.
| Symptom | Likely cause | Fix |
|---|---|---|
| Runs too fast, sour, little or no crema | Grind too coarse (under-extracted) | Grind finer; double-check your dose is ~18 g |
| Chokes, drips slowly, tastes bitter | Grind too fine (over-extracted) | Grind coarser |
| Squirts or sprays sideways; erratic flow | Channeling from an uneven bed or tilted tamp | Distribute and tamp more evenly; don’t tap the tamped puck |
| Weak and watery | Dose too low or grind too coarse | Raise the dose or grind finer |
| Bitter and burnt-tasting | Over-extraction or brew temperature too high | Grind coarser; lower the temperature if your machine allows it |
Notice how many of those fixes are “adjust the grind.” That’s not a coincidence — it’s the master variable doing its work.
Steaming milk, briefly
If you’re building a latte or cappuccino, the milk is a separate skill worth a quick word. Start with cold milk. Set the steam wand’s tip just below the surface and let it hiss for two or three seconds to stretch the milk — that’s the stage that adds air. Then submerge the tip deeper and let the whirlpool spin the foam into glossy, paint-like microfoam with no big bubbles. Give the jug a firm tap and a swirl, and pour.
Some machines take this off your hands entirely — automatic steam wands, like those on the Breville Bambino Plus and Barista Touch, texture the milk hands-free to a set temperature. If touch-free milk is a priority for you, our best espresso machines for beginners guide flags which models automate it.
What you actually need
You don’t need a café’s worth of equipment, but you do need the right four things:
- A machine that holds around 9 bar of pressure. That pressure is what makes espresso espresso rather than strong drip. (For the fuller picture of how the two methods differ, see our explainer on espresso vs. coffee.)
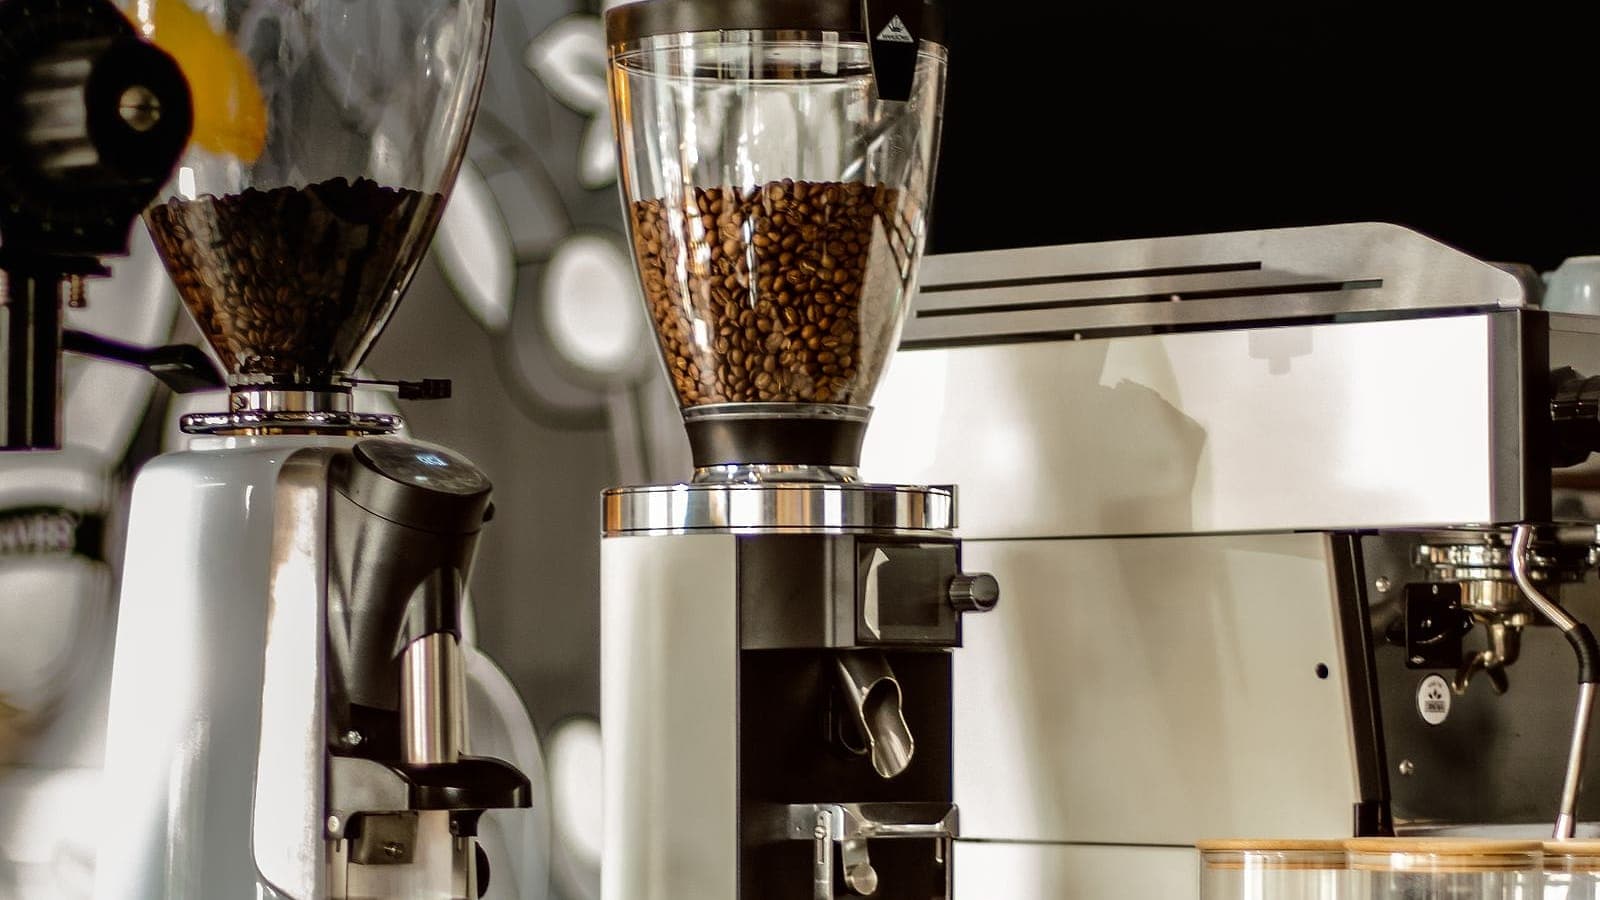
- A burr grinder that reaches espresso-fine with small adjustment steps. This is the make-or-break tool — see the best coffee grinders for espresso.
- A scale for weighing dose and yield.
- Fresh beans, rested one to four weeks off roast.
New to buying and not sure where to start? Our roundups of the best espresso machines and the best espresso machines for beginners walk through the trade-offs — and both make the same argument this guide does: budget for the grinder first.
How we researched this
Cookloom is a new site, so we’re transparent about where this comes from: the recipe here isn’t our own lab result, it’s the standard specialty-coffee convention taught across the field. We cross-checked the technique numbers — the ~18 g dose, the 1:2 ratio, the 25-to-30-second window, and the taste-to-grind troubleshooting logic — against established, widely referenced sources, including Serious Eats’ guide to making espresso and Wirecutter’s espresso coverage, which repeat the same core principle: grind is the variable you learn to read first, and the grinder is worth more of your budget than the machine. Where those sources agree, we’ve presented the guidance as convention rather than as a measurement of our own.