Here is the thing almost everyone gets wrong: that steel rod that came with your knife block does not sharpen your knife. It never has. Running your blade down it feels productive, and your knife does cut a little better afterward — but you have not removed a speck of metal or created a new edge. You have only nudged a bent one back into line. Understanding that difference is the whole game. Get it right and a good chef’s knife will stay scary-sharp for years on almost no effort. Get it wrong and you will either dull a fine blade with a cheap gadget or, more likely, let a perfectly good knife go quietly blunt. This guide walks through what actually sharpens a knife, how to tell when yours needs it, and how to do it yourself on a whetstone without wrecking the edge.
The short answer
Two different jobs get confused constantly, so let’s separate them up front:
- Honing realigns the microscopic edge that folds over as you cut. It removes essentially no metal. Do it often — every session, or every few uses.
- Sharpening grinds away a small amount of steel to form a fresh, keen edge. Do it rarely — most home cooks need it only once or twice a year.
- The best method for control and blade life is a whetstone. The fastest is an electric sharpener, which is genuinely sharp but aggressive and re-shapes the edge. A pull-through is cheap and skill-free but the most likely to remove too much metal.
If you only remember one line: hone constantly, sharpen occasionally, and reach for a whetstone when honing stops working. Everything below is the detail behind that. And yes — even the best chef’s knives go dull; a great knife is one that takes an edge well and holds it, not one that never needs maintenance.
The number-one myth: a honing steel doesn’t sharpen
What the rod actually does
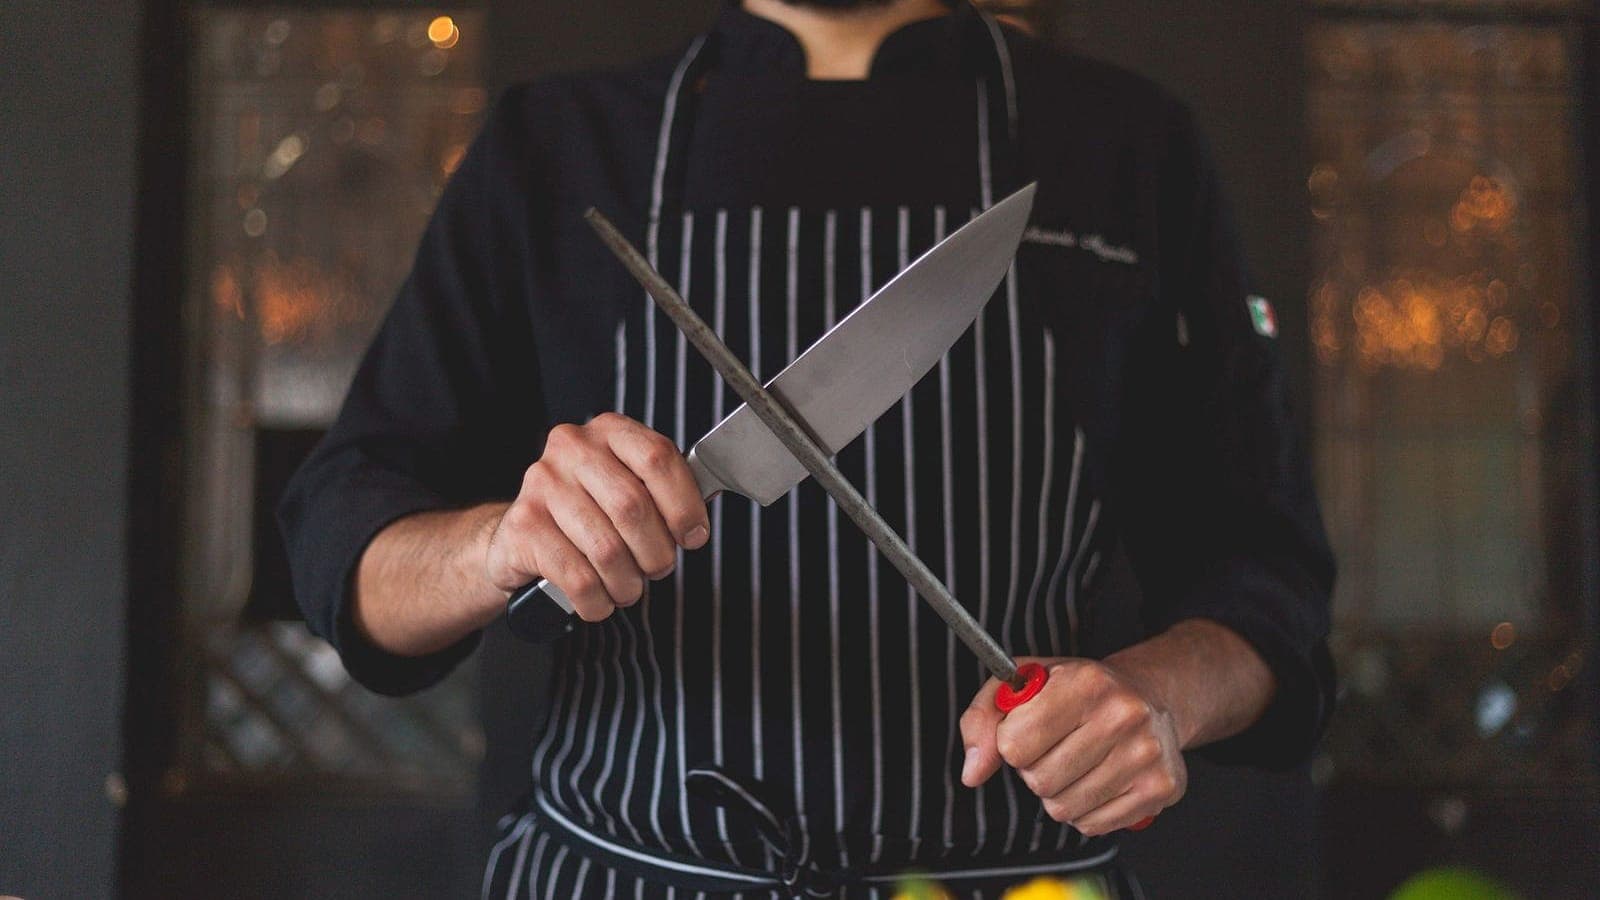
As you cut, the very thin apex of your edge bends microscopically to one side. The knife still has plenty of sharp steel — it is just no longer pointing straight, so it drags. A honing rod fixes exactly that. The friction of a few passes straightens those folded-over fibers of steel back into alignment, which is why the knife bites again immediately afterward. As America’s Test Kitchen puts it, a rod “doesn’t really sharpen a knife, but rather hones the edge.” Consumer Reports describes the same mechanism: honing straightens the edge and removes no metal. That is why you can — and should — hone constantly with zero worry about wearing the blade down.
Sharpening is the other job entirely. Made In, Wüsthof, and Victorinox all define it the same way: sharpening grinds metal off the blade to cut a brand-new edge and bevel. That is what a whetstone, an electric sharpener, or a professional does. A honing rod cannot, because it takes nothing away.
Why it’s called a “sharpening steel”
Here is the source of all the confusion. That rod is frequently sold and labeled as a “sharpening steel,” which is exactly why most people assume steeling sharpens. Wüsthof draws the line clearly: a honing steel realigns the edge, while a true sharpening steel — a coarser, often diamond-coated rod — actually removes metal. Same silhouette, different tool, and the marketing rarely tells you which one you own. If yours is the smooth steel rod from a knife block, assume it hones.
The honest exception
“A honing rod never sharpens” is mostly true, not absolutely true, and the difference comes down to what the rod is made of. Cutlery and More lays out the spectrum: a smooth steel rod only realigns. A ceramic rod is mildly abrasive and shaves off a tiny bit of metal, giving a light refinement on top of realignment. A diamond rod is the most aggressive and does remove real metal, edging into genuine light sharpening. So if someone tells you their rod “sharpens,” they may be right — they are probably using diamond or ceramic. For the standard smooth steel most home cooks have, treat it as pure honing.
How often to hone versus sharpen
The frequencies are wildly different, and matching your routine to each is what keeps a knife sharp for years.
Hone often. Victorinox, Consumer Reports, and Messermeister all land in the same place — hone before or after each cooking session, or every few uses, with Messermeister suggesting weekly to daily depending on how much you cook. The technique is quick: hold the blade at roughly 15 degrees (per America’s Test Kitchen) to 20 degrees (per Victorinox) against the rod, take about five light alternating strokes per side, heel to tip. Keep the pressure feather-light — America’s Test Kitchen notes that a harsh rasping sound means you are pressing far too hard. You are guiding the edge, not grinding it.
Sharpen rarely. Because sharpening actually consumes steel, you want to do the minimum that keeps the knife performing. For a home cook that is roughly once or twice a year. Made In suggests every six months to a year; Zwilling says a couple of times a year is plenty. The trigger is simple: sharpen only when honing no longer restores the bite. Professional cooks who abuse their knives daily sharpen far more often — Messermeister points to monthly for the pros — but that is a workload most kitchens never touch.
Is your knife actually dull? Four quick tests
Before you sharpen, confirm the knife needs it. Honing may be all it wants. These four checks each come from a specific source and take seconds:
- The paper test. Hold a sheet of printer paper or newspaper by one edge and slice down through it. A sharp knife glides through cleanly; a dull one drags, snags, or tears. (America’s Test Kitchen.)
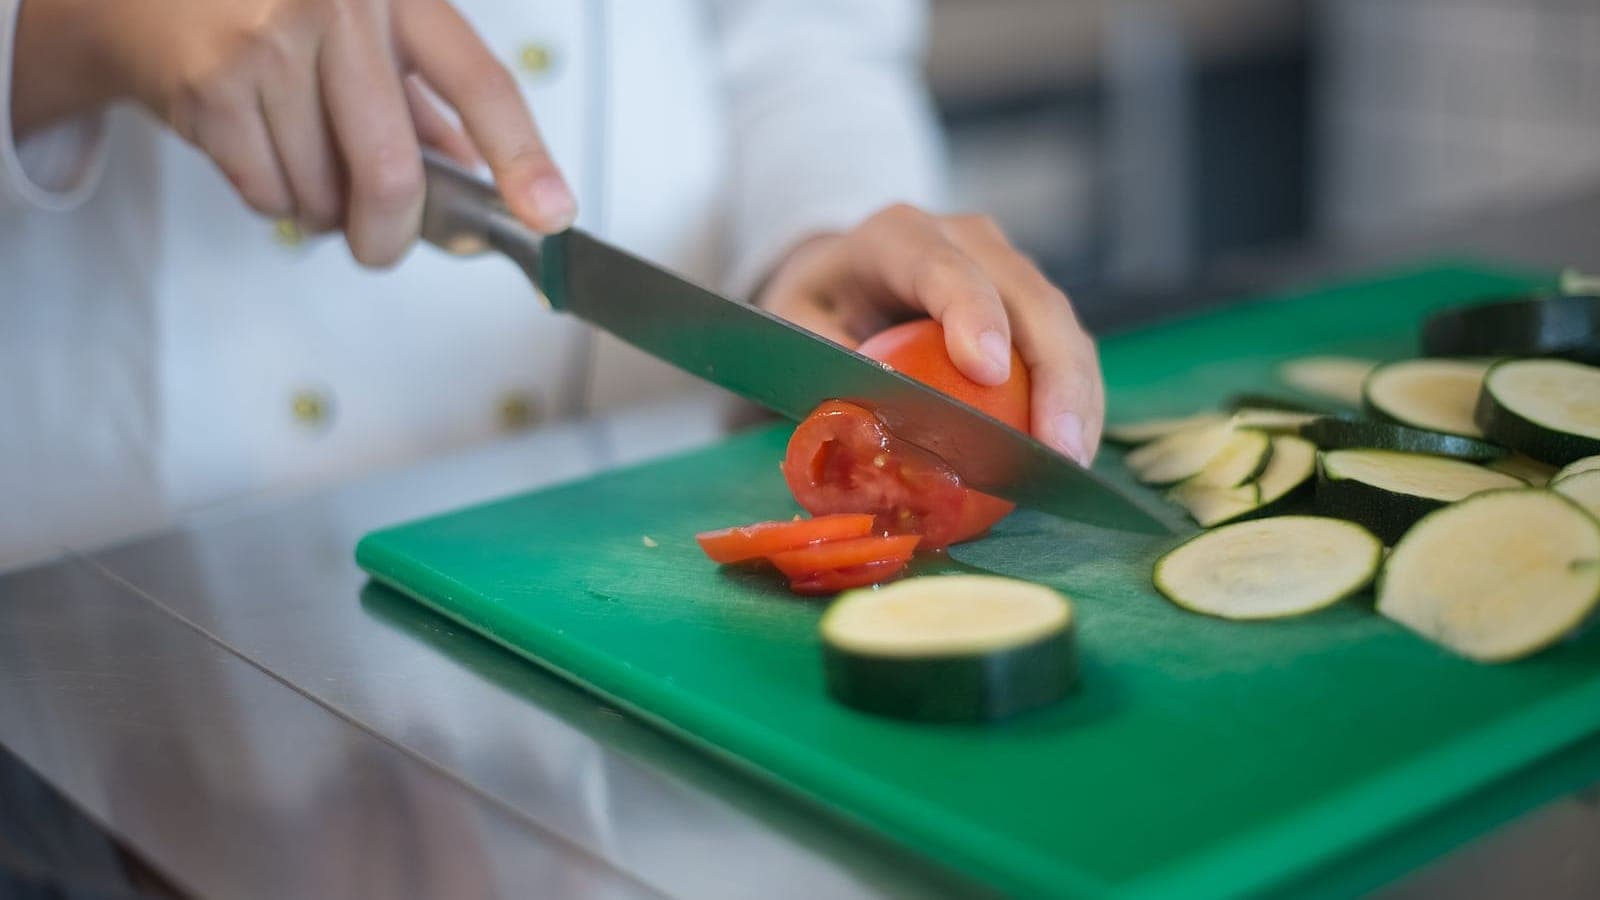
- The tomato test. Set the edge on a tomato’s skin with almost no downward pressure and draw it back. A sharp blade breaks the skin and glides; a dull one skids, resists, and eventually crushes or saws through. (QSP Knife.)
- The thumbnail test. Rest the edge, perpendicular, on your thumbnail with no pressure. A sharp edge catches and bites; a dull one skates right off.
- The onion test. America’s Test Kitchen’s signature check: a dull knife needs extra force through an onion, cuts unevenly, crunches instead of slicing, and ruptures more cells — which is literally why a blunt knife makes you cry more. If the onion is fighting back, it is time.
A sharp edge does the work so you don’t have to lean on the knife — which is the real payoff of keeping it maintained.
The three ways to sharpen your own knife — honestly compared
Every method that truly sharpens does so by removing metal. The differences are how much control you get, how much steel you sacrifice, and how much skill it demands. Here is the honest picture, plus the one genuine disagreement among experts.
Whetstone — the gold standard
A whetstone (a water stone) gives you total command over angle, grit, and pressure, and it follows your specific blade’s geometry rather than forcing a shape onto it. Done well, it produces the keenest edge and extends the knife’s life because you take off only what you need. America’s Test Kitchen treats it as the reference method. The cost is a real learning curve: it is messy with slurry, takes twenty to thirty minutes, and the result depends entirely on your consistency. Worth learning; not learned in one session.
Pull-through — cheap, fast, and risky
A pull-through pulls the blade through a fixed slot — no skill, no setup, done in seconds. The catch, per Sharpening Supplies, is that the slot’s angle is fixed and may not match your knife, and these tools can remove a lot of metal and even reshape the blade’s contour. Carbide slots are the most aggressive and tend to leave a ragged edge; diamond and ceramic slots are gentler. America’s Test Kitchen’s least-bad manual pick is a diamond-slot model, the Chef’sChoice Pronto. Do not use a carbide pull-through on a hard Japanese knife — the brittle high-hardness steel can chip.
Electric — fast and genuinely sharp, but it re-profiles
Electric sharpeners are quick, produce a genuinely sharp edge, and are aggressive by nature. America’s Test Kitchen rates the Chef’sChoice Trizor XV highly, sharpening in around two minutes. The important caveat: it converts a 20-degree Western edge to about 15 degrees per side. That is a real re-profiling of the knife’s geometry, not just a touch-up — fine if you want a thinner edge, worth knowing before you commit your German blade to it. (Don’t confuse the Trizor XV electric unit with the Pronto, which is a manual diamond pull-through.)
Professional service — for when it’s beyond a touch-up
If a knife is severely dull, chipped, or you simply have no interest in learning, a professional does it fast and well. Knife Sharpening Finder puts typical pricing around a few dollars to roughly twenty dollars per knife, often billed by blade length, with more for Japanese or high-carbon steel; every three to six months is plenty. One caution from the same source: choose a reputable sharpener, because cheap grinding wheels run hot and over-grind, eating your blade.
| Method | Edge quality | Metal removed | Skill / time | Cost | Best for |
|---|---|---|---|---|---|
| Whetstone | Highest | Least (you control it) | High / ~20–30 min | $$ | Anyone who wants the best edge and blade life |
| Pull-through (diamond/ceramic) | Fair | High, fixed angle | None / seconds | $ | Fast touch-ups on soft Western knives |
| Pull-through (carbide) | Ragged | Very high | None / seconds | $ | Beaters only — never hard Japanese steel |
| Electric | High | Moderate, re-profiles | Low / ~2 min | $$$ | Speed without technique; re-thinning an edge |
| Professional service | High | Depends on shop | None (drop off) | $–$$ | Very dull, chipped, or no-skill situations |
The expert split, presented honestly. There is a genuine disagreement here worth surfacing. America’s Test Kitchen argues that a good electric sharpener, used correctly, removes no more metal than a whetstone does. Whetstone purists counter that any fixed-angle or powered device alters the blade’s geometry and is therefore a compromise no matter how well made. Both are defensible. Which side you land on tends to track how hard your knife’s steel is and how much you value its original factory geometry — softer Western blades tolerate powered sharpening comfortably; hard, thin Japanese blades reward the control of a stone. We are not going to adjudicate it for you; we are going to tell you the trade-off exists.
How to sharpen a chef’s knife on a whetstone, step by step
If you sharpen one knife by hand in your life, this is how. The following synthesizes guidance from America’s Test Kitchen, Chubo, Japanese Knife Lab, and Ethan Chlebowski.
What you need
Start with two stones. Chubo’s breakdown of grits: 220–600 is coarse, for repairing chips and badly dull edges; 1000 grit is the workhorse that actually creates the edge; 3000–6000 refines and polishes; 8000 delivers a mirror. A sensible beginner kit is one 1000-grit stone plus one in the 3000–6000 range. You will also want a damp towel or a stone holder to stop the stone from sliding.
Soak the stone
Most water stones need soaking — submerge for about five to ten minutes, until the stream of bubbles stops. Splash-and-go stones, and ceramic or diamond plates, do not soak; a quick splash is enough. Use water only as the lubricant, never oil.
Find your angle
Aim for roughly 15 to 20 degrees per side — about 15 for a Japanese knife, closer to 20 for a Western one. Japanese Knife Lab’s coin trick makes this tangible: picture the spine lifted off the stone by a stack of coins, where one coin is about 10 degrees, two coins about 15, and three about 20. To confirm you have matched the existing bevel, use the marker test (from Work Sharp): color the bevel with a permanent marker, take two or three light strokes, and read where the ink is gone. Ink removed only at the very edge means your angle is too shallow; ink gone up on the shoulder means too steep; ink removed evenly across the bevel means you have matched it. Note that this checks your angle, not sharpness.
Sharpen the first side to a burr
Lay the fingers of your free hand flat near the edge, lock your wrist, and drive the stroke from your shoulder and elbow so the angle stays constant. Use even, moderate pressure and work the whole edge, heel to tip. It usually takes 30 or more strokes to raise a burr — and the burr is the signal you are waiting for. Keep going on one side until you feel a continuous thin wire of steel along the entire opposite edge; Ethan Chlebowski’s cue is that you feel it with the pad of your thumb, dragging away from the edge, or it faintly catches your thumbnail. A full-length burr means you have ground all the way to the apex. Only then switch.
Sharpen the second side and deburr
Flip the knife and repeat at the same angle until you raise a burr on the first side. Now remove that burr: move to your finer stone and take light, alternating strokes, one side then the other, easing off the pressure with each pass. This finishing step is what turns a rough new edge into a clean, keen one. A few passes on a leather strop afterward is optional polish, not required.
Test it
Run the paper or tomato test from earlier. If the knife glides, you are done. If one section still drags, go back to that spot on the 1000-grit stone, raise a small burr there, and deburr again.
Japanese versus German knives: why the angle matters
You cannot sharpen every knife the same way, because they are not ground the same way — and the reason is the steel. Harder steel supports a thinner, more acute edge without folding; softer steel needs a wider, more obtuse edge to resist chipping. That single fact drives the whole Japanese-versus-German divide.
| Knife / steel | Hardness (HRC, manufacturer-reported) | Typical edge angle (per side) |
|---|---|---|
| Wüsthof Classic — X50CrMoV15 | ~54–58 | 14.5° (PEtec) |
| Victorinox / German general | Softer–mid | ~15° / 15–20° |
| Shun Classic — VG-MAX | 60–61 | 16° |
| Japanese chef’s knife (gyuto), general | 58–67 | 10–15° |
The metallurgist Larrin Thomas frames the trade-off cleanly: a more acute edge is sharper but deforms and chips more easily, while a more obtuse edge is tougher but cuts less keenly. Neither is “better” in the abstract — it depends on the steel behind it. The practical rule that follows is simple: sharpen each knife at its own angle. Use the marker test to find it rather than guessing. And because hard Japanese blades are both thin and brittle, sharpen them on a whetstone, not a pull-through, which can chip that high-hardness steel. If you want the full comparison of steels, geometry, and feel, see our guide to German versus Japanese knives.
One scope note: everything above assumes a double-bevel chef’s knife — Western or a Japanese gyuto — sharpened on both sides. Traditional single-bevel Japanese knives like the yanagiba or deba are a different discipline with their own technique, and are beyond this guide.
Keeping the edge between sharpenings
The best way to sharpen less often is to dull the knife less in the first place. A few habits do most of the work:
- Hone regularly. This is the whole point of the myth section — honing between sharpenings keeps the edge aligned so it stays sharp far longer.
- Cut on the right surface. Use wood or plastic boards, which give under the edge. Glass, stone, and ceramic boards are edge-killers; they blunt a knife with every stroke.
- Store it protected. A magnetic strip, an in-drawer guard, or a block keeps the edge from banging against other metal. A knife rattling loose in a drawer dulls and nicks fast.
- Hand-wash and dry. Skip the dishwasher — the heat, detergent, and jostling are hard on both the edge and the handle.
For the complete routine, including washing, storage, and rust prevention, see our guide on how to care for kitchen knives.
Sources
- America’s Test Kitchen — How to Use a Honing Rod
- America’s Test Kitchen — How Often Should You Sharpen Your Knife? Just Use Your Onion
- America’s Test Kitchen — How to Use a Whetstone
- America’s Test Kitchen — Electric Knife Sharpeners
- Consumer Reports — How to Use a Honing Steel
- Made In — Honing vs. Sharpening
- Wüsthof — How to Sharpen Your Wüsthof Knives
- Victorinox — How to Sharpen Your Kitchen Knife
- Cutlery and More — How to Hone a Knife
- QSP Knife — Knife Sharpness Touch Tests
- Work Sharp — What Is the Best Knife Angle and How Do I Tell What Angle My Knife Is?
- Sharpening Supplies — Pros and Cons of Pull-Through Sharpeners
- Knife Sharpening Finder — Knife Sharpening Cost
- Chubo — How to Sharpen a Knife with a Stone
- Japanese Knife Lab — Sharpening Angle Guide
- Ethan Chlebowski — The Beginner’s Guide to Whetstone Sharpening