Food sticks to stainless steel for one main reason: the pan wasn’t at the right temperature. Nail the preheat and stainless behaves almost like nonstick. The method most cooks and cookware makers teach is simple: heat the dry pan about two minutes on medium, test it with a drop of water — when the droplet beads up and skates across the surface like mercury (the Leidenfrost effect), the pan is ready — then add oil, then add food. And the golden rule most beginner guides come back to: don’t force it. Food sticks at first and releases on its own once a proper sear forms. If it resists the spatula, it isn’t ready — give it another minute.
That’s the whole trick. Everything below is the detail that makes it reliable, plus the handful of small mistakes that turn a good stainless pan into a frustrating one.
The method, step by step
This sequence is standard cooking convention — you’ll find versions of it in beginner guides from cookware makers and food publications alike. It works because it fixes the one variable most people get wrong: temperature.
- Preheat the dry pan (~2 minutes on medium). Empty pan, no oil yet, medium heat — not high. A cold pan is the number-one cause of sticking, and rushing it on high heat is the second. Give it a minute or two to come up evenly.
- Run the water-drop (Leidenfrost) test. Flick a few drops of water into the pan. If the water spreads out and sizzles away quickly, the pan is still too cool — wait. When the droplet forms a tight ball (or several balls) that glide across the surface without evaporating, the pan is at the right temperature. If the water flashes to steam instantly and the pan is smoking, it’s too hot — pull it off the heat for a few seconds to settle.
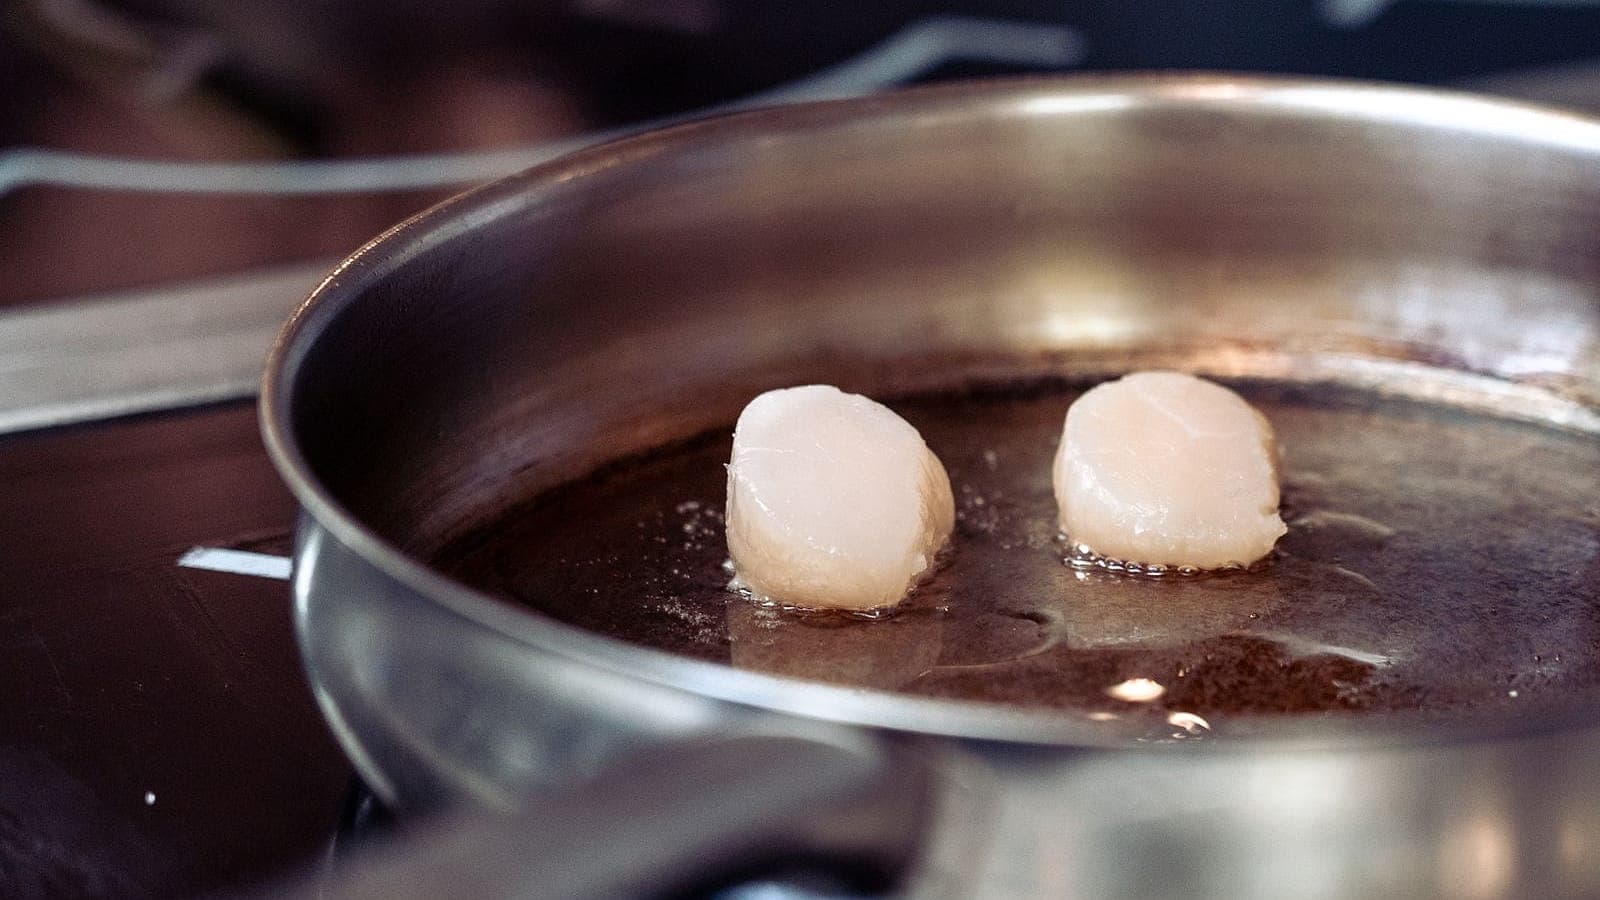
- Add the oil or fat after the preheat. A thin film is plenty. It should shimmer almost immediately and thin out to coat the pan. This is the step people most often reverse: oil added to a cold pan and heated slowly degrades, gets gummy, and actively makes food stick.
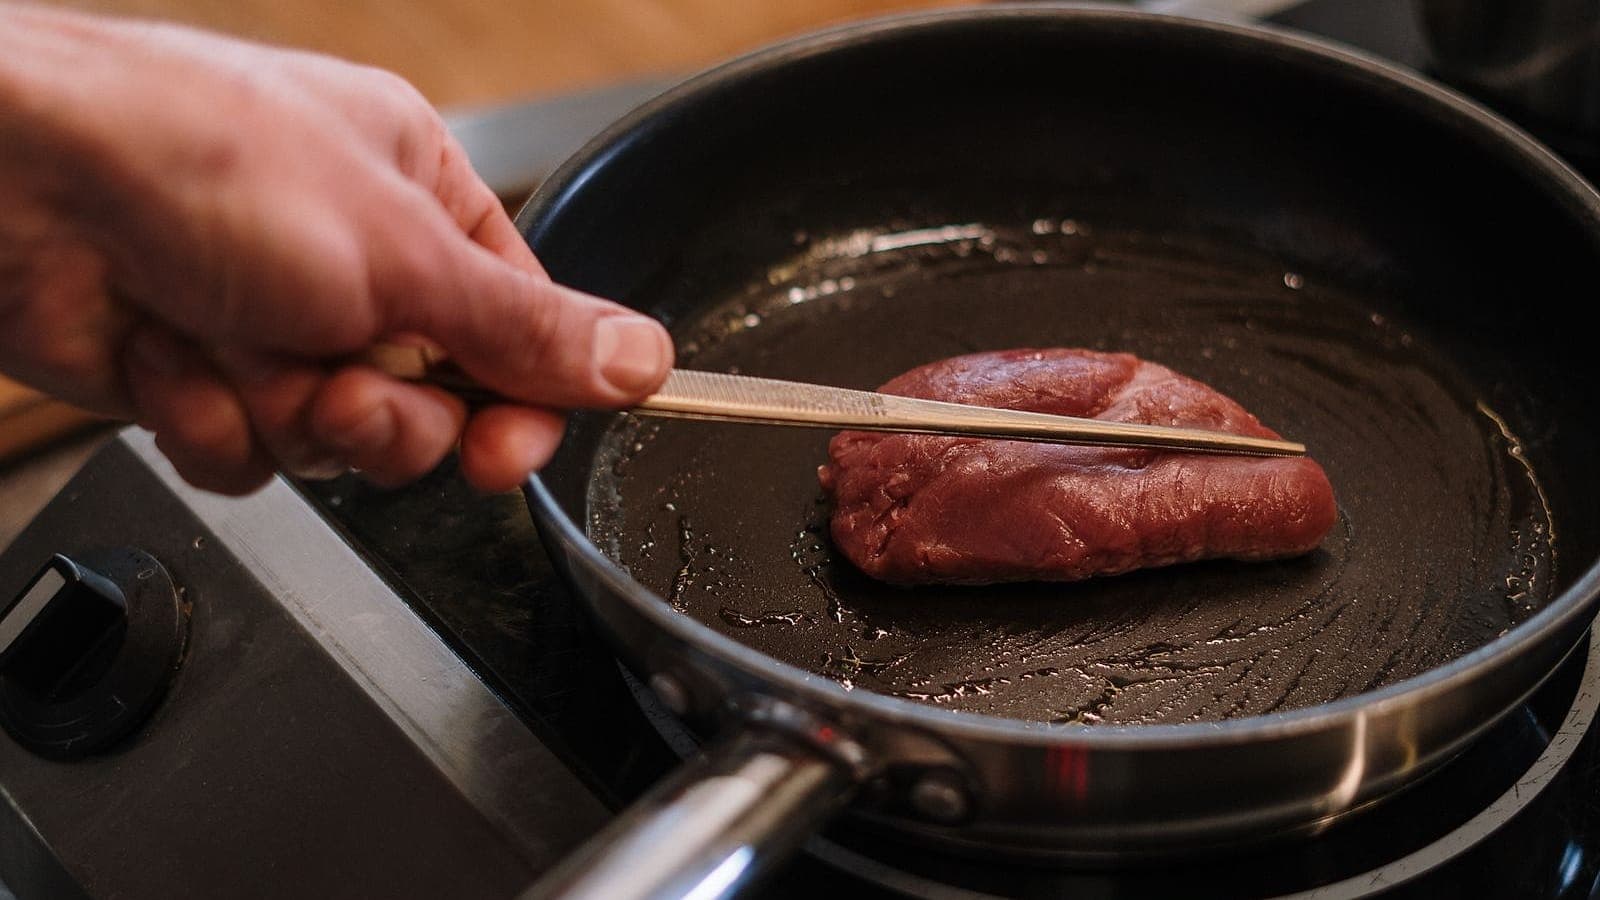
- Add the food and leave it alone. It will grip the surface at first — that’s normal. As a crust forms, the bond releases on its own. Test by nudging a corner with a spatula or tongs: if it lifts cleanly, it’s ready to flip; if it holds on, give it another minute and try again.
- Deglaze the fond. Those toasty browned bits stuck to the pan after searing (the “fond”) are pure flavor. A splash of stock, wine, or even water lifts them into a quick pan sauce as you scrape. This is a stainless superpower a nonstick surface simply can’t give you.
Why the preheat matters (briefly)
The science is neutral and worth knowing because it explains why the water test works. Metal has microscopic pores, and when it’s cold those pores are open — food proteins settle in and bond to bare steel. As the pan heats, the metal expands and those pores tighten up, while a thin layer of hot oil fills what’s left and forms a slick barrier between food and surface. Cold pan means open pores and no oil barrier, which is exactly the sticking you’re trying to avoid.
The flip side is heat that’s too high: it scorches the oil and burns food onto the surface before a clean sear can form. That’s why the convention is medium, not maximum — hot enough to pass the water test, restrained enough not to smoke.
Common mistakes and how to fix them
Almost every sticking problem traces back to one of these. The fixes are small.
| Mistake | What happens | The fix |
|---|---|---|
| Pan is too cool | Food bonds to bare, cold steel | Preheat ~2 min, then run the water test before adding anything |
| Oil added to a cold pan | Oil degrades and turns gummy before food goes in | Add oil after the pan passes the water test |
| Heat cranked too high | Oil scorches and food burns onto the surface | Drop to medium; you want a sear, not smoke |
| Flipping too soon | The crust hasn’t formed, so food tears and sticks | Wait — nudge it, and only flip once it releases on its own |
| Cold-from-the-fridge protein | The pan temperature crashes on contact | Let meat or fish rest ~20 minutes at room temperature first |
| Overcrowding the pan | Food steams instead of searing and the pan cools | Cook in batches; leave space around each piece |
If you internalize just the top two rows — preheat properly, and add oil only after the water test — most of the rest takes care of itself.
Cleaning and keeping it looking new
Stainless is forgiving to clean, but a couple of habits keep the finish bright for years.
- Let the pan cool before washing. Shocking screaming-hot steel with cold water can warp it over time. Give it a few minutes off the heat first.
- For stuck-on bits, simmer a little water with a spoonful of baking soda for a few minutes to loosen the residue, then scrub. No need to gouge at it.
- Rainbow tint or chalky white spots are cosmetic, not damage — usually heat discoloration or hard-water minerals. A dab of a stainless cleanser like Bar Keepers Friend, or a wipe of vinegar, brings the shine back.
- Dishwasher-safe, but hand-washing is gentler. Stainless can go in the dishwasher, but hand-washing preserves the polished look longer.
None of this is fussy maintenance — stainless has no coating to wear out, which is a big part of why a well-treated pan can last decades.
What good technique unlocks
Once the preheat is second nature, a stainless skillet earns its place: it out-sears nonstick on a steak, browns chicken skin properly, and builds the fond that becomes a pan sauce — the exact jobs where coated pans fall short. New to buying one? Start with our guide to the best stainless steel skillet, or step back and compare full sets in the best cookware sets hub.
Stainless doesn’t have to be your only pan, though. Most well-rounded kitchens pair it with a single nonstick pan for eggs, crepes, and delicate fish — the few things stainless makes harder than it needs to be. If you’re weighing coatings against each other, our ceramic vs. nonstick comparison lays out the trade-offs, and if you’re wondering about the safety questions people raise, we cover whether nonstick cookware is safe separately. The point isn’t stainless or a coating — it’s stainless plus one good nonstick pan.
How we researched this
We don’t present any of the numbers here as our own bench measurement. The preheat-and-water-test method, the roughly two-minute preheat, and the “medium, not high” guidance are longstanding cooking convention — the same sequence taught in beginner guides from cookware makers and major food publications, which we’ve cited below. Where those sources agree, we’ve distilled the consensus into one clean, repeatable method rather than reinventing it.
Sources
- All-Clad, Cooking on Stainless Steel for Beginners
- Food Network, How to Keep Food From Sticking to Stainless Steel