How to Sous Vide: A Beginner’s Guide
Sous vide sounds fussy, but the core idea is simple: you seal food in a bag, drop it in water held at an exact temperature, and let physics do the work. Because the food can’t cook past the water temperature, it comes out evenly done edge to edge and is very hard to overcook. Here’s how to run your first cook from setup to sear, with the food-safety rules that keep it honest.
If you’re still deciding whether the technique earns a spot on your counter, read is sous vide worth it? first. If you’re sold, this guide walks you through the whole process.
What you’ll need
Before you start, gather:
- An immersion circulator — the wand that heats and circulates the water. We use the Anova Precision Cooker 3.0 as our reference here, but any model works the same way.
- A vessel — a tall pot or, better for long cooks, a lidded container like the EVERIE 12-Quart Sous Vide Container Kit.
- Bags — vacuum-seal bags, or sturdy zip-top freezer bags.
- A quick way to sear — a heavy skillet, a torch, or a grill.
- A good thermometer — handy for spot-checking doneness. See our best kitchen thermometers guide.
The steps
1. Set up the water bath
Clamp the circulator to the side of your pot or container and fill it with water to somewhere between the minimum and maximum fill lines marked on the device. Set your target temperature on the unit’s controls or app. On the Anova, you can dial it in on the touchscreen or from your phone.
For short cooks, a pot is fine. For anything long, use a lidded container. The EVERIE kit includes a hinged lid that dramatically cuts evaporation, so an overnight bath doesn’t slowly boil itself dry. If you’re improvising, even a sheet of foil or a few ping-pong balls floating on top will slow evaporation and heat loss.
2. Season and bag the food
Season simply. Salt and pepper are plenty for a first cook. Go easy on raw garlic and strong aromatics for long cooks, since flavors concentrate over hours in a sealed bag and can turn harsh or unpleasant.
Then seal the food:
- Vacuum sealer: the most reliable seal, especially for long cooks. It pulls the air out and gives you a tight, sink-or-swim bag.
- Water-displacement method (for zip-top bags): place the seasoned food in a freezer-grade zip-top bag, leave it mostly open, and slowly lower it into the water. The water pressure pushes the air up and out. Just before the opening reaches the waterline, seal it.
Either way, get the air out. Trapped air makes bags float, and a floating bag cooks unevenly because part of it sits above the water.
3. Pick temperature and time — follow a chart
This is the part that trips up beginners, so slow down here.
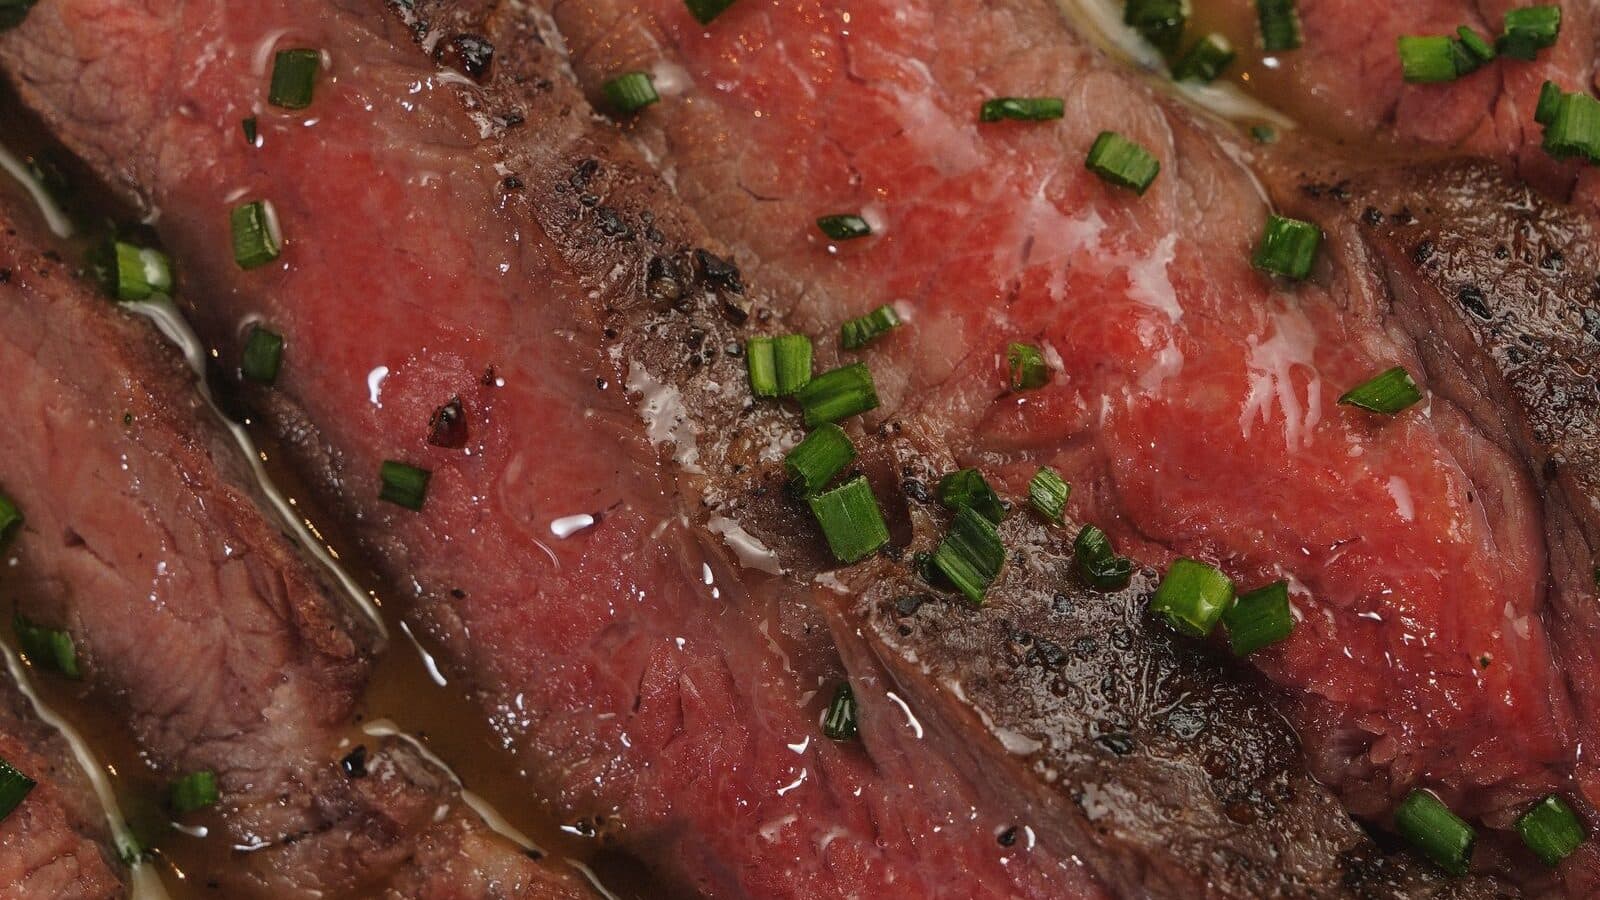
- Temperature sets the doneness. A medium-rare steak lands roughly 129–134°F (about 54–57°C). Set the bath to your target and the food will come to exactly that, never past it.
- Time sets the tenderness and the safety. A thin steak needs an hour or two; a tough, collagen-rich cut like brisket can take a day or more to turn tender.
The single best habit you can build is to follow a trusted time-and-temperature chart rather than guessing. Here’s why time matters for safety: lower temperatures need longer holds to pasteurize food (to reduce bacteria to safe levels). A cook that’s hot enough to be safe quickly at one temperature may need a much longer hold at a lower one. Reputable charts from sources like Serious Eats and food-safety authorities give you the exact safe combinations. Use them, and don’t invent your own numbers.
4. Drop it in and walk away
Once the water is at temperature, submerge the bag and make sure it stays fully under the surface. A rack or a clip on the side of the container keeps it from drifting up. Then close the lid and leave it alone.
This is where sous vide is forgiving: a steak that sits an extra 30 minutes at 131°F is still 131°F, so it won’t overcook the way it would in a pan. The one caveat is texture. Very long holds gradually soften food, so an eight-hour steak will read more tender-to-mushy than a two-hour one. Stay within the range your chart recommends.
5. Food safety — do this right
Sous vide is safe when you respect a few rules, and there’s no reason to be alarmist about it:
- Don’t linger in the danger zone. Bacteria multiply fastest in the rough range between refrigerator-cold and safe-hot. Sous vide cooking brings food up and holds it at a safe target, which is the whole point — but don’t let food sit lukewarm for hours before or after.
- Cook poultry and pork to safe combinations. Use temperature-and-time pairings from a reputable chart, not just a target temperature. Time is what pasteurizes.
- Don’t over-hold. Leaving cooked food sitting in warm water for hours beyond what the recipe calls for is where people get into trouble.
- Chill promptly if you’re not searing right away. If you’re cooking ahead, move the sealed bag into an ice bath to cool it quickly, then refrigerate.
6. Dry, then sear
This is the step beginners skip, and it’s the difference between a gray, boiled-looking piece of meat and a restaurant plate. The water bath physically cannot brown food.
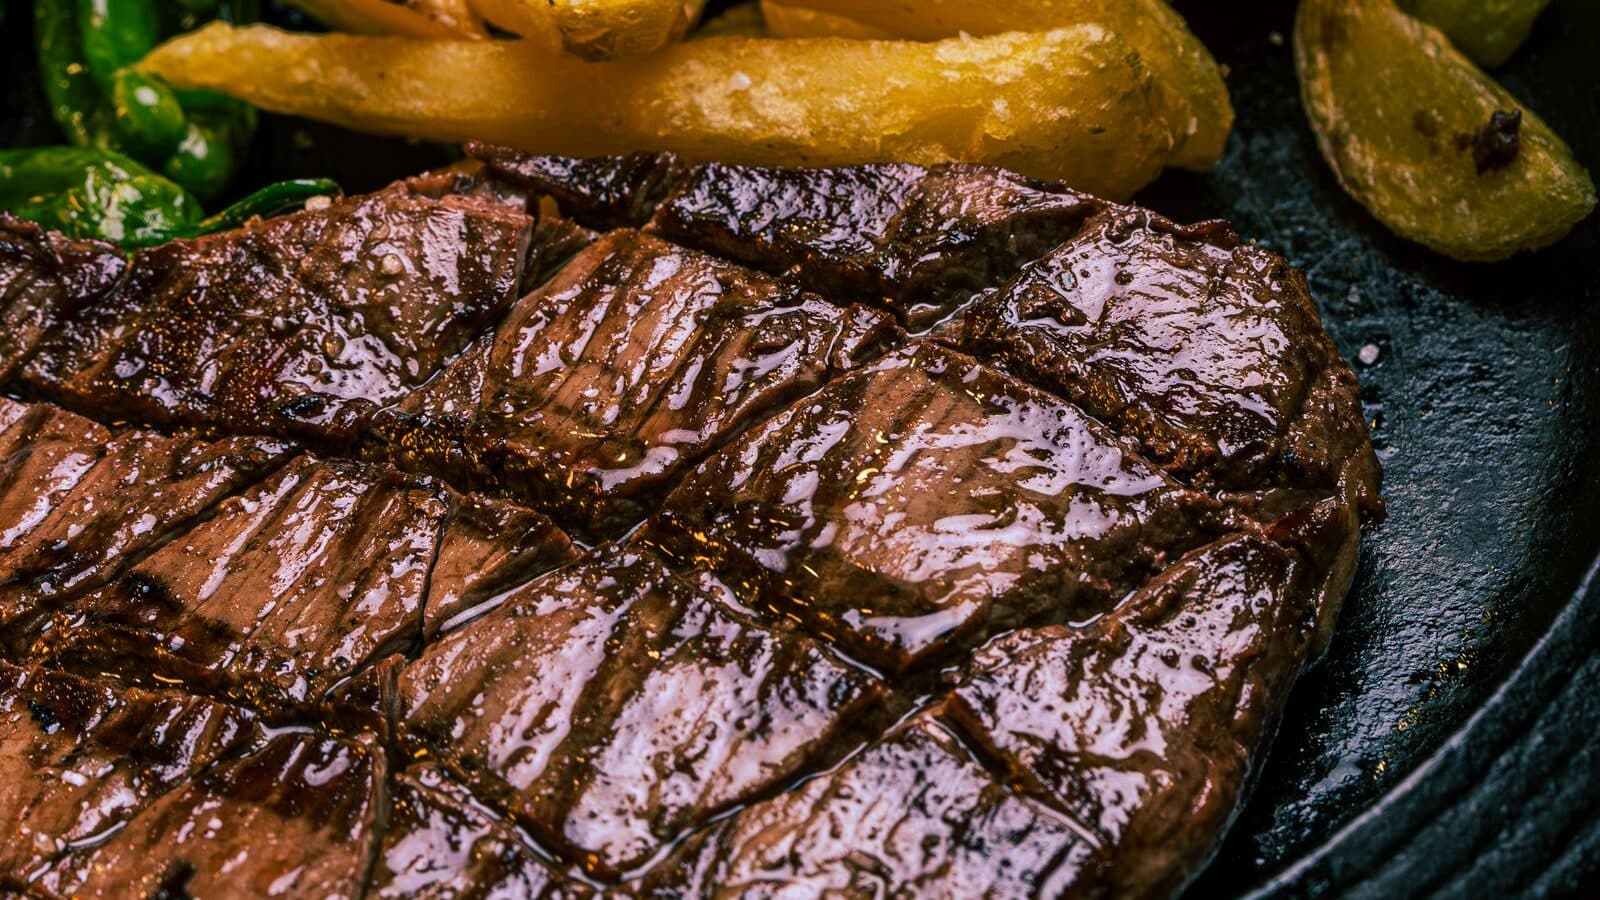
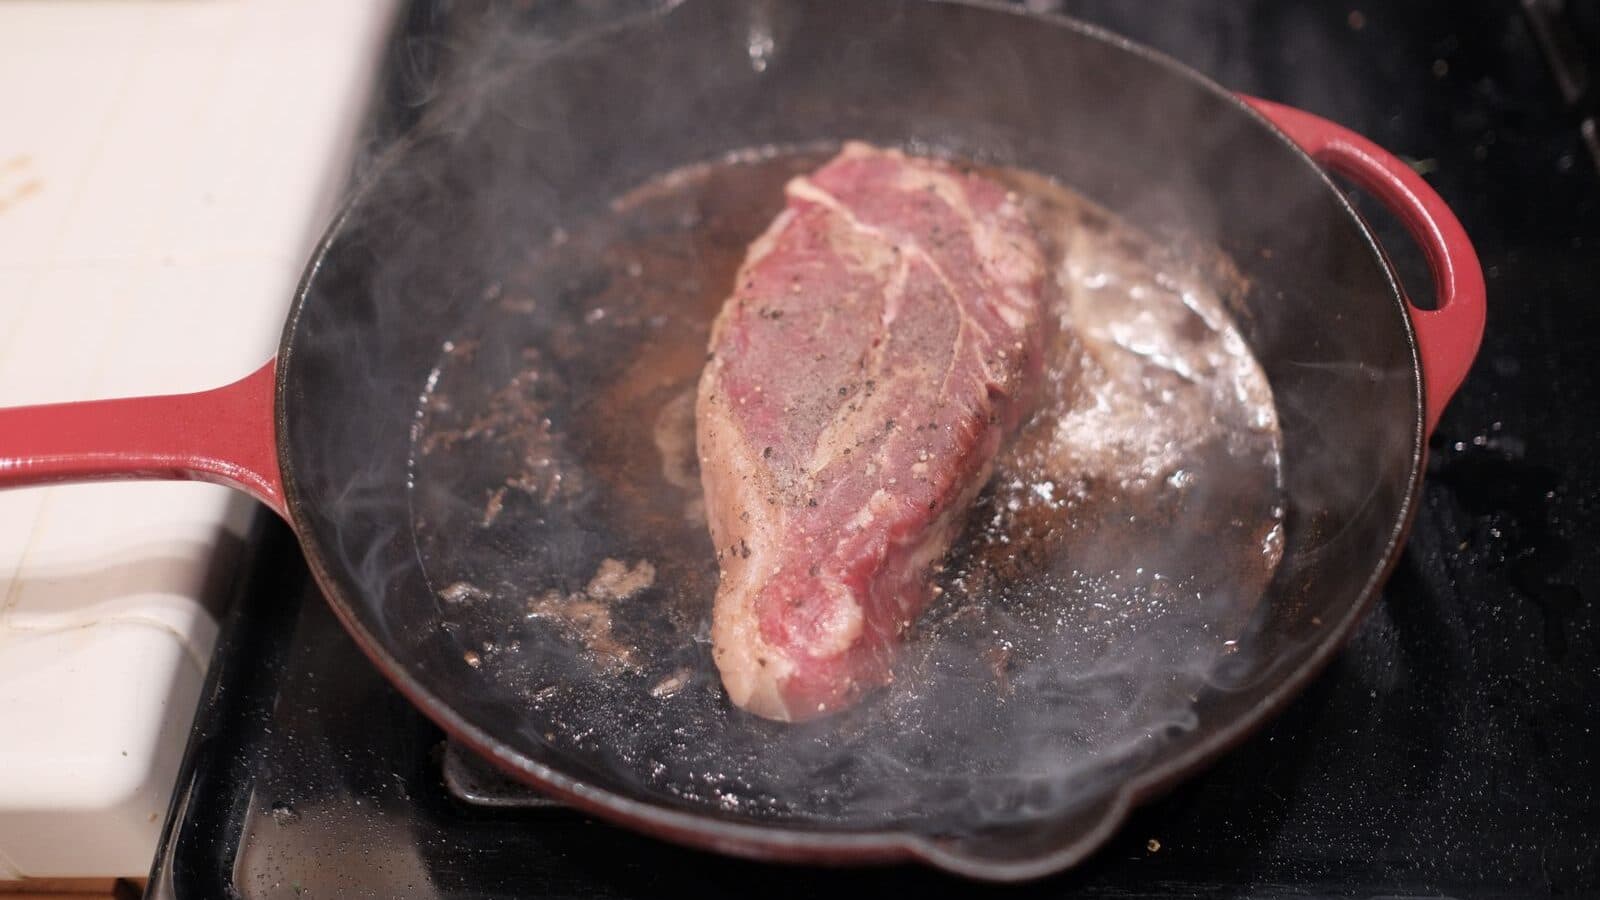
Pull the food from the bag and pat it bone-dry with paper towels. Surface moisture is the enemy of a good crust, because the pan wastes energy steaming it off instead of browning. Then sear hard and fast in a screaming-hot skillet, or hit it with a torch or a hot grill. A minute a side is usually enough — the inside is already perfectly cooked, so you’re only chasing color and crust, not doneness.
7. Rest briefly and serve
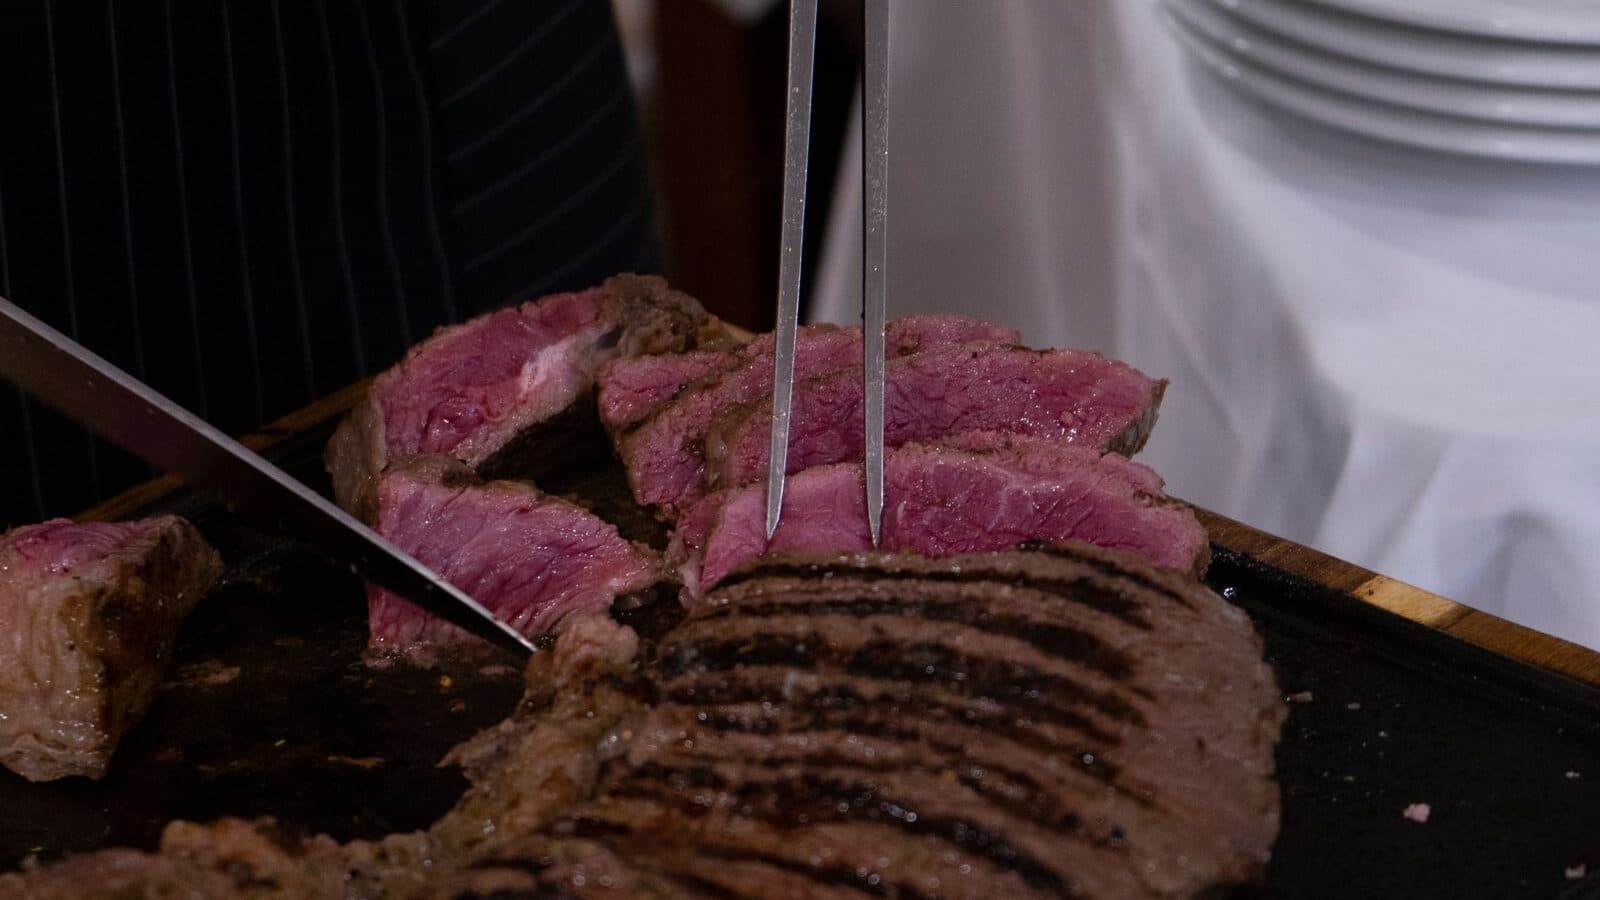
Give the food a short rest, then slice. Because sous vide cooks so gently, you don’t need the long rest a roast demands, but a couple of minutes lets the surface settle after the sear. Don’t throw out the bag juices — they’re concentrated flavor and make a quick pan sauce.
A few beginner mistakes to avoid
| Mistake | Fix |
|---|---|
| Bag floats and cooks unevenly | Get all the air out; weigh it down or clip it under water |
| Meat comes out pale and boiled-looking | Pat it dry and sear hot and fast afterward |
| Guessing the temperature | Follow a trusted time-and-temperature chart |
| Water boils down on long cooks | Use a lidded container to cut evaporation |
Sources
- Manufacturer specifications and how-to guidance (Anova, EVERIE)
- Serious Eats sous vide guides and time-and-temperature charts (J. Kenji López-Alt)
- USDA and general food-safety guidance on time-and-temperature and pasteurization
- ChefSteps and Modernist Cuisine reference material on sous vide technique
- Cookloom’s own best sous vide machines and sous vide accessories guides