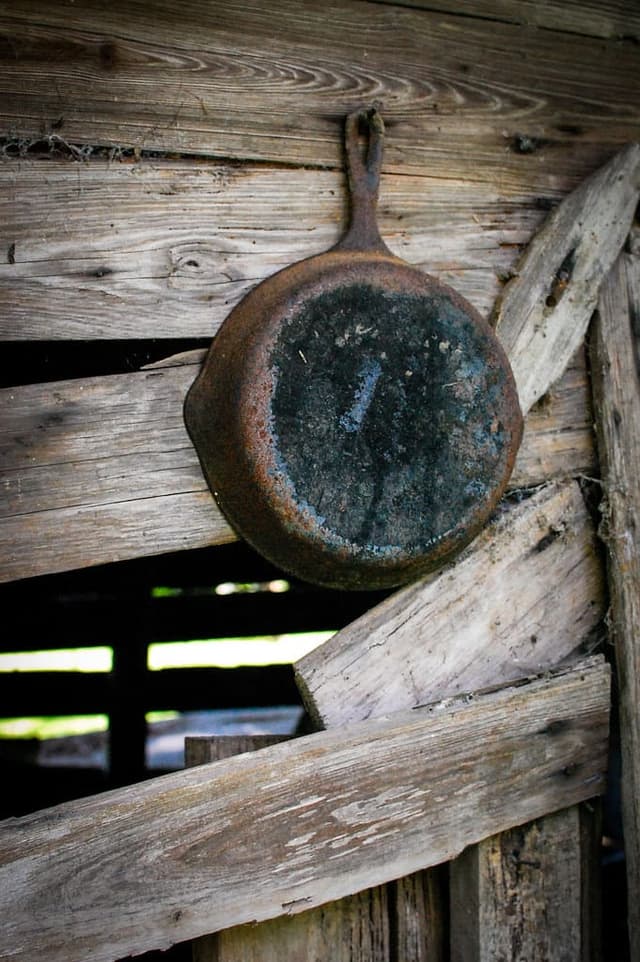
A rusty cast-iron skillet is almost never a ruined one. Match the fix to the damage: light surface rust scrubs off with fresh oil in about 15 minutes; heavy, all-over rust dissolves in a 50/50 bath of white vinegar and water — checked every 30 minutes and never left past two hours; and a same-day re-season locks in the rescue. The only pans worth retiring are the cracked, the badly warped, and the fire-damaged. Before you touch anything abrasive, though, flip the pan over. If the bottom says Griswold or Wagner, you may be holding a collectible, and the rules change.
First, triage: how bad is the rust?
Rust looks alarming, but it’s just iron oxide sitting on top of the metal you actually care about. The severity — not the panic — should pick your method. There’s no reason to soak a pan that needs 15 minutes with a scrub pad, and no amount of scrubbing rescues a thrift-store find that’s orange from rim to rim.
| Tier | What you see | What to do | Time |
|---|---|---|---|
| 1 — Surface dusting | Orange speckles or a light haze; seasoning mostly intact | Scrub, wash, dry, oil | ~15 minutes |
| 2 — Rust patches | Distinct rough orange patches with some bare iron showing | Scrub first; escalate to a short vinegar soak if patches won’t budge | 30–60 minutes |
| 3 — Full coverage | Thrift-store orange across the whole pan | 50/50 vinegar soak, checked every 30 minutes, two-hour hard cap, then re-season | 1–3 hours, plus seasoning |
| 4 — Structural damage | Cracks, wobble on a flat surface, red scaly patches, deep pitting | Usually retire the pan — see the beyond-saving section below | — |
The 60-second collectible check
Do this before you scrub anything. Flip the pan and read the bottom. Griswold pans carry a cross-in-circle logo, and the logo itself dates the piece: the large block-letter version ran from roughly 1905 to 1930, the small block version from 1930 to 1940, according to identification guides at Vintage Green Antiques and The Cast Iron Collector. Wagner pieces are typically marked “Wagner Ware” with “SIDNEY -O-” underneath.
Here’s why it matters: condition drives collectible value, and aggressive restoration destroys it. Collector price guides note that common sizes — the #3, #6, and #8 skillets most people find — are everyday users rather than trophies, while genuinely rare pieces can reach four figures. Wagner generally trades below comparable Griswold. If your pan carries either mark, skip anything abrasive. Hand-scrub gently, use the vinegar soak with discipline, or go straight to electrolysis — and never sand or grind a marked pan.
Tier 1: light surface rust — scrub and re-oil (15 minutes)
For a light orange dusting, Lodge’s official restoration guidance is simple: scrub the rust away with steel wool or a rust eraser, then wash the pan with warm, soapy water. Yes, soap is fine here — you’re about to re-oil anyway. Dry it completely, wipe on a thin coat of cooking oil, and you’re done.
America’s Test Kitchen describes a gentler route for rust that’s a little more stubborn: after a pass with fine steel wool, work a warm paste of vegetable oil and coarse salt over the rust with paper towels while the pan sits over medium-low heat. The salt does the abrading, the oil carries the debris away, and the metal underneath stays untouched.
One honest disagreement to flag: Field Company — which makes smooth-finish pans — warns that steel wool can polish cast iron too smooth, leaving a surface that struggles to hold well-bonded seasoning, and recommends finer scouring pads instead. Lodge, meanwhile, recommends steel wool without hesitation. Both companies restore a lot of pans. Our read: on a modern rough-cast pan, steel wool is fine; on a vintage or machined-smooth pan, take Field’s cautious route with a scouring pad or the salt-and-oil paste. A chainmail scrubber is another safe middle ground, and it earns permanent counter space for everyday cleanup afterward.
Tier 2: heavy rust — the 50/50 vinegar soak
When the whole cooking surface has gone orange, chemistry beats elbow grease. Plain white vinegar dissolves rust efficiently — and it will keep going and start dissolving your pan if you let it. The method is easy; the discipline is the timer.
1. Mix a 50/50 bath
Combine equal parts white vinegar and water in a container big enough to hold the whole skillet — a bucket, a plastic tub, or a plugged sink. This dilution is the consensus across Field Company, The Kitchn, and Tasting Table.
2. Submerge the pan completely
Handle and all. A partial soak leaves a visible tide line etched at the waterline, and rust on the handle will keep spreading if you skip it.
3. Check every 30 minutes
Set a timer. Lift the pan out, rub a rusty patch with a scrub pad, and see what comes away. The Cast Iron Collector community’s rule of thumb is 30-minute sessions with a check between each one. Field Company finds most pans are done in about an hour.
4. Two hours is the hard cap
Tasting Table’s warning is the one to tape to your fridge: even diluted vinegar attacks bare iron once the rust is gone, so never exceed two hours. If stubborn rust remains at the deadline, pull the pan and scrub — don’t keep soaking.
5. Scrub off what the soak loosened
The vinegar converts and loosens the rust; you still have to remove it. Coarse salt and a stiff brush, a scouring pad, or a chainmail scrubber all work. Expect gray, dull, bare iron underneath — that’s correct.
6. Wash, then dry on the stovetop immediately
Wash with warm soapy water, then get the pan onto a low burner for about five minutes, per Field Company’s method. This step is urgent: flash rust can bloom on bare, damp iron within minutes.
7. Oil it now, season it today
The moment the pan is dry, wipe a thin film of oil over every surface. Then commit to a full oven seasoning the same day — bare iron is a countdown clock. The short version is below; the full walkthrough lives in our guide to how to season cast iron.
Why the timer matters
Vinegar doesn’t know the difference between iron oxide and iron. Once the rust is consumed, the acid begins etching the pan itself, leaving a rough, gray, pitted surface. Owners on The Cast Iron Collector forum who over-soaked pans report exactly this — and the consolation is real but slow: repeated seasoning rounds and regular cooking gradually fill minor etching back in. Prevention costs nothing. Use a kitchen timer, not your memory.
For the serious: electrolysis, in brief
If you restore pans regularly — or you just confirmed that thrift find is a Griswold — electrolysis is the method collectors trust most. An electric current pulls rust and decades of carbonized gunk off the pan without removing any iron, which is exactly why it’s preferred for valuable pieces.
The basic setup, per The Cast Iron Collector: a plastic tub of water mixed with washing soda (sodium carbonate) at one to two tablespoons per gallon, a sacrificial anode made of plain steel, and a manual car battery charger — automatic chargers’ safety circuits shut down when connected to a tank. Sessions commonly run around eight hours, and DIY build guides at Realtree and Grit describe 24-to-48-hour runs with periodic checks for heavily crusted pans.
Two safety points are non-negotiable. The process generates hydrogen gas, which is flammable, so run the tank outdoors or with serious ventilation and no ignition sources nearby. And use plain steel for the anode, not stainless — the cautious consensus among restorers is to avoid the chromium question entirely.
For one rusty skillet, this is overkill; the vinegar soak will get you there. For a habit, it’s worth the trip to the hardware store.
The self-clean oven trick: why we say skip it
You’ll see this shortcut all over forums: lock the skillet in the oven, run the self-clean cycle, and let 900°F do the work. Cast-iron care specialists at Campfires and Cast Iron and Foodal both advise against it, and the case is strong. Self-clean cycles hold 900°F or more for three to five hours — heat that can warp, crack, or permanently discolor cast iron, with thinner vintage castings at the greatest risk. Running the cycle with a greasy pan inside adds a genuine fire hazard.
The kicker, per Foodal: it doesn’t even solve the problem. The cycle incinerates seasoning and carbon buildup but leaves the rust itself, so a widely rusted pan comes out of the oven still needing a vinegar bath. And the downside is permanent — The Cast Iron Collector’s damage guide notes that fire-damaged iron, recognizable by scaly, patchy, dull-red surfaces, often cannot hold seasoning ever again.
If your actual problem is heavy crud rather than rust, there’s a safer stripper: The Kitchn tested the lye-based oven-cleaner method — spray the pan with a product like Easy-Off, seal it in a garbage bag overnight, then wash thoroughly — and found it effective without the heat risk.
Re-season it (the rescue isn’t finished)
A restored pan is bare iron, and bare iron rusts again fast. Lodge’s manufacturer baseline: wipe a thin layer of cooking oil over every surface — in Lodge’s words, “not enough to drip or run when you tilt it” — then bake the pan upside down at 450–500°F for one hour with foil on the rack below, and let it cool in the oven. Field Company suggests a second round if the rust was widespread, and honestly, a second coat never hurts a freshly stripped pan.
Temperatures vary by source, and the oil question deserves its own discussion — both live in our full guide to seasoning cast iron. Once the pan is back in rotation, a sane routine keeps you off this page for good: see how to clean cast iron.
When a pan really is beyond saving
Most rust is cosmetic. These problems aren’t:
- Cracks: retire it. Every heat cycle expands and contracts the metal, working even a hairline crack wider until the pan eventually splits, per Taste of Home and Chefs Corner Store. The Cast Iron Collector notes that seasoning sometimes seals a hairline well enough for casual use, but the pan’s collectible value is drastically reduced either way. For cooking, don’t gamble.
- Warping and “spinners.” A warped pan pools oil to one side and spins uselessly on glass cooktops. There’s no fix.
- Deep pitting: a judgment call. Pitting is metal that’s already gone, and per The Cast Iron Collector it cannot be repaired — but minor pitting on a cooking surface gradually fills with seasoning layers over months of use. Shallow scattered pits: cook on. Deep craters across the cooking surface: pass.
- Fire damage. Scaly, patchy, dull-red iron — from a house fire, a bonfire, or yes, a self-clean cycle — frequently won’t hold seasoning again.
- Lead history. A pan ever used to melt lead is done as cookware, full stop, per The Cast Iron Collector.
If your skillet lands here, take the honest exit: replacing it costs less than you’d fear. A Lodge Classic sits at the $ end of the market and remains the default recommendation of nearly every test kitchen — our guide to the best cast-iron skillets covers it and the pans above it. And if you’re deciding whether a smooth-finish premium pan is worth the jump from that $ workhorse, we break that down in Lodge vs. premium cast iron.
Sources
- Lodge Cast Iron — Restore and Season Rusty Cast Iron
- Field Company — How to Remove Rust from a Cast Iron Skillet
- America’s Test Kitchen — Cleaning and Seasoning a Cast Iron Skillet
- Tasting Table — How to Remove Rust from Cast Iron with Vinegar
- The Kitchn — How to Restore a Rusty Cast Iron Skillet
- The Kitchn — Oven Cleaner for a Rusty Cast Iron Skillet
- The Cast Iron Collector — Electrolysis
- The Cast Iron Collector — Damage & Defects
- The Cast Iron Collector — Numbers & Letters
- The Cast Iron Collector Forum — Vinegar Over-Soak Thread
- Realtree — How to Build an Electrolysis Tank for Cast Iron Restoration
- Grit — Electrolysis for Cast Iron
- Campfires and Cast Iron — Cleaning Cast Iron in a Self-Cleaning Oven
- Foodal — Restoring Old Cast Iron in a Self-Cleaning Oven
- Taste of Home — When to Throw Away a Cast Iron Skillet
- Chefs Corner Store — Keep It or Toss It: Cast Iron
- Vintage Green Antiques — Griswold Cast Iron
- KitchenSanity — Griswold Cast Iron Price Guide
Hero photo: “Cast Iron Pan” by christopherbarnette, CC BY 2.0.