How to Use a Toaster Oven: A Practical Guide
A toaster oven is one of the most useful appliances on your counter, and also one of the most underused. Most people toast bread in it and stop there. Learn its functions, preheat when it counts, and pick the right rack, and it will handle everything from crisp reheated pizza to roasted vegetables and small-batch cookies — faster and with less energy than your full-size oven. Here is how to get great results from day one and keep the oven working for years.
Get started the right way
1. Do the first-use burn-off
Unbox the oven and pull out everything inside: the wire rack, the baking pan, and the crumb tray. Wash the removable racks and pans in warm soapy water, then dry them fully before they go back in.
Before you cook anything, run the empty oven. Set it to a high temperature — bake around 450°F for 10 to 15 minutes — with the kitchen well ventilated (open a window or turn on the range hood). New heating elements are coated with manufacturing oils, and that first heat cycle burns them off. Expect a faint plastic or metallic smell the first time; it is completely normal and will not come back. Don’t put food in until this burn-off is done.
2. Learn what each function actually does
The function dial or menu is where a toaster oven earns its keep. Here is what the common settings mean and when to reach for them:
- Toast / Bagel — Toast browns both sides of bread evenly. Bagel mode toasts the cut side more and gently warms the outer crust, so it works for English muffins too.
- Bake — Steady, all-around heat for cookies, casseroles, muffins, and anything you’d bake in a full oven.
- Roast — Higher, more top-driven heat for chicken pieces, potatoes, and vegetables you want browned.
- Broil — Intense heat from the top element only. Use it to melt cheese, crisp a top crust, or finish fish and vegetables.
- Convection — A fan circulates the hot air so food cooks faster and browns more evenly. When you switch convection on, drop the temperature by about 25°F or shorten the time, since the moving air cooks more aggressively than still air.
- Reheat / Warm — Gentle heat to bring leftovers back to temperature or hold a finished dish without overcooking it.
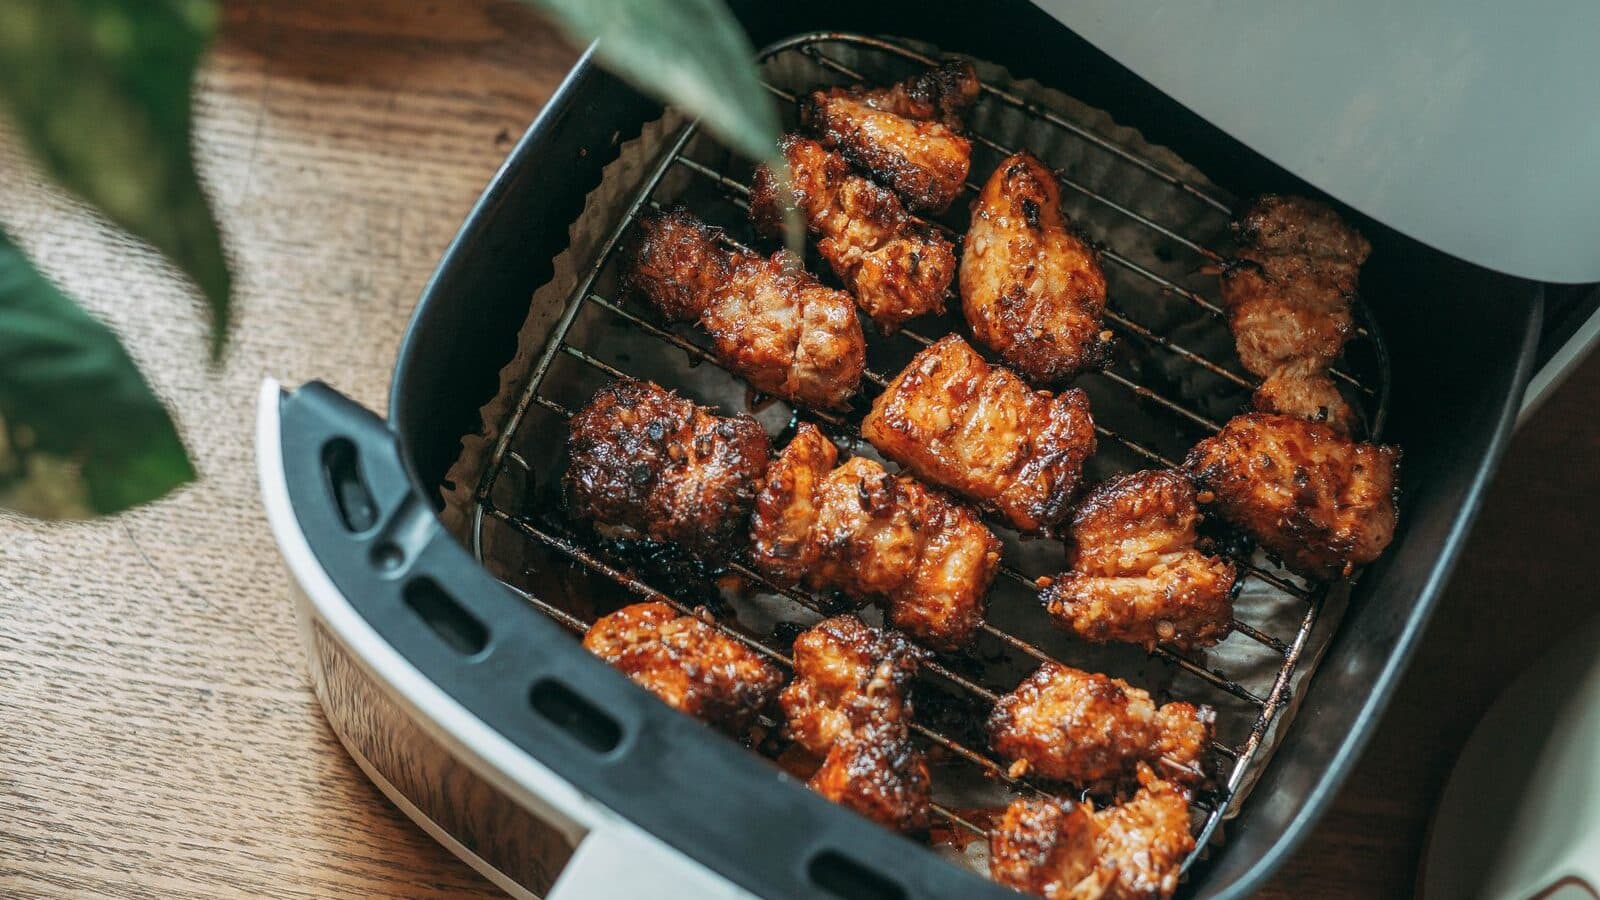
- Air fry — On models that have it, a strong fan plus a perforated basket crisps food with little or no oil. If yours doesn’t have this mode, our toaster oven vs air fryer guide explains when the difference actually matters.
A digital oven like the Cuisinart Deluxe Convection Toaster Oven Broiler (TOB-135) puts nine of these functions behind a backlit display with a heat sensor, so the temperature you dial in is close to what you get inside. A premium model such as the Breville Smart Oven Pro (BOV845) uses five quartz elements it adjusts on the fly, and adds a 10-hour slow-cook setting alongside toast, bagel, bake, roast, broil, pizza, cookies, reheat, and warm. You don’t need every function every day — but knowing which one to pick is what separates a glorified toaster from a real second oven.
3. Preheat only when it matters
Preheating means running the oven empty until it reaches the set temperature before food goes in. Do it for baking and roasting, where you want food to hit full heat from the first minute — cookies spread properly, roasts sear instead of steam.
Skip preheating for toast, bagels, and reheating. Those cycles are designed to start from cold, and preheating first would only overcook them. The good news: most toaster ovens have a small cavity and reach temperature in a few minutes, so preheating costs you far less time than a full-size oven.
4. Choose the right rack position
Where you put the rack changes how food cooks, because the top and bottom elements are close to the food in a small cavity:
- Top position — Closest to the upper element. Use it for broiling, melting, and browning tops.
- Middle position — The all-purpose spot. Use it for baking cookies, reheating pizza, and most everyday jobs, so heat reaches the food evenly from both sides.
- Low position — Farthest from the top element. Use it for taller items like a whole small chicken or a loaf, so the top doesn’t scorch before the inside cooks.
Use the pan and rack that shipped with your oven whenever you can — they’re sized to leave proper airflow around the food, which is what makes a compact oven cook evenly. That fit matters even more in tight cavities; if counter space is your constraint, our best small toaster ovens guide covers models built for it.
Everyday jobs it does well
Once you’re comfortable with the controls, these are the tasks a toaster oven quietly does better than the alternatives:
- Perfect toast — Match the shade dial to your bread. Denser or frozen bread needs a darker setting; check once and adjust rather than guessing.
- Reheating pizza and leftovers — This is the toaster oven’s best trick. A few minutes on bake or reheat at around 375°F crisps the crust and revives the cheese, where a microwave leaves it soggy.
- Small bakes — A tray of cookies, a couple of muffins, or a single-serving gratin cooks without heating up the whole kitchen.
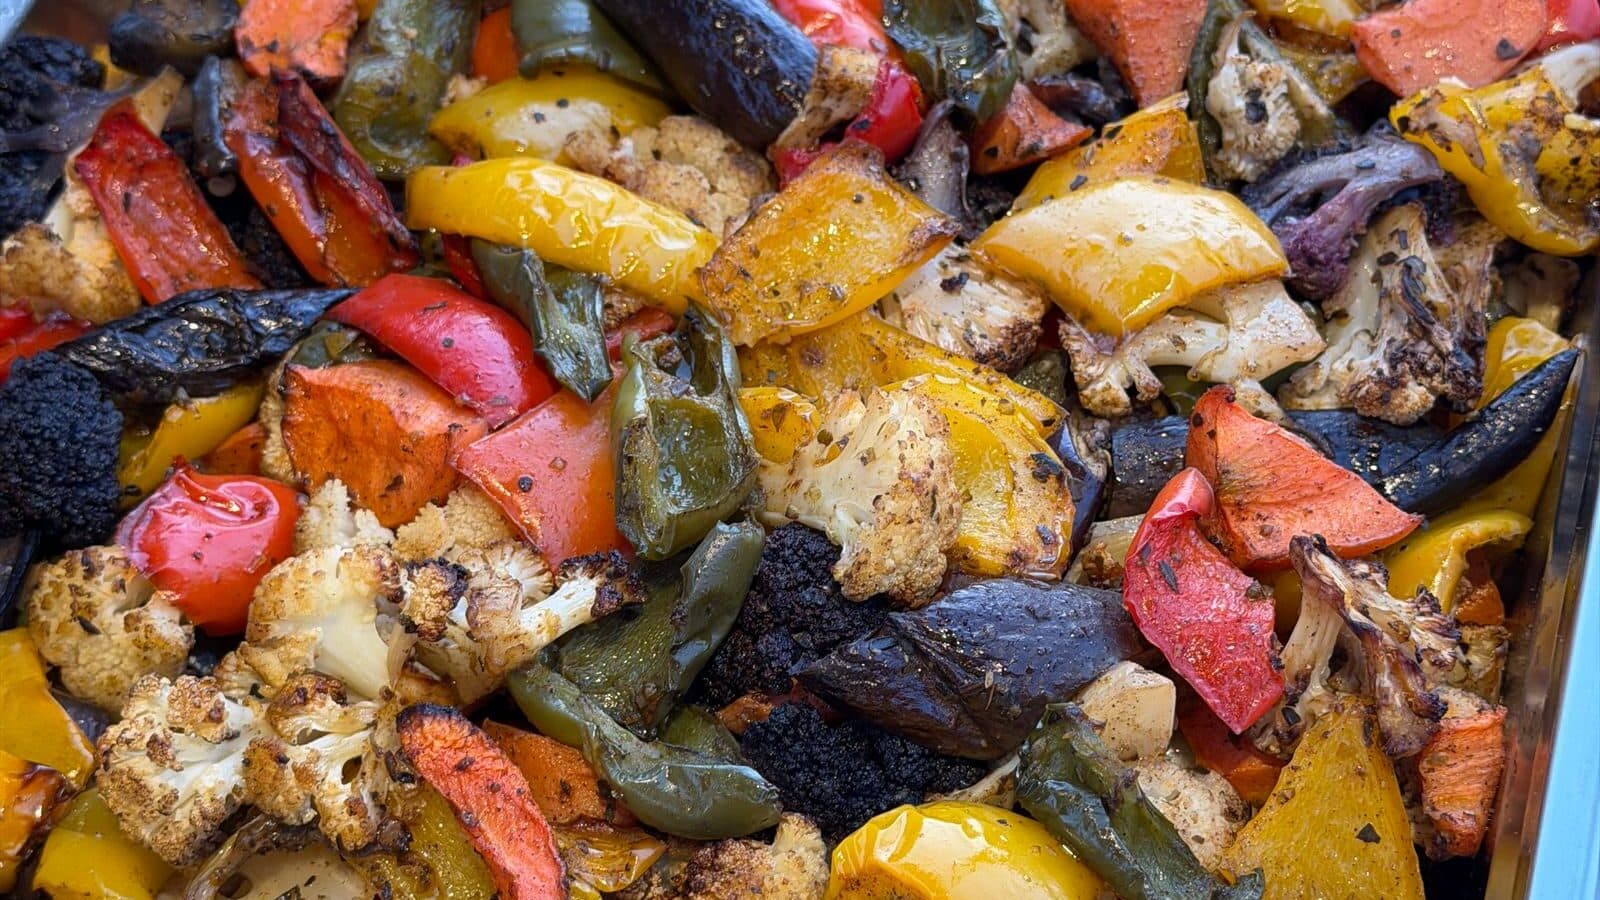
- Roasting vegetables — Toss with oil, spread in a single layer on the pan, and roast (convection if you have it) until the edges brown.
- Broiling — Melt cheese on a sandwich, crisp the top of a casserole, or finish a fillet in a couple of minutes under the top element. Watch it closely; broiling goes from perfect to burnt fast.
If your oven has an air-fry basket, treat it like any other removable part — and clean it the same careful way you would a standalone unit, which our air fryer cleaning guide walks through step by step.
Safety and good habits
A toaster oven runs hot, and its exterior heats up more than a full-size oven’s insulated body. Build these habits early:
- Leave clearance on all sides and, especially, above the oven — the top vents heat, so nothing should sit or hang over it.
- Never store anything on top, even when it’s off. It’s easy to forget and turn the oven on with a cookbook or plastic container up there.
- Empty the crumb tray regularly so crumbs don’t smoke or catch.
- Use oven mitts for the rack, pan, and door handle. The outside gets hot enough to burn.
- Keep the oven on a stable, heat-tolerant surface and away from curtains, paper towels, and the wall.
Cleaning and upkeep
A clean oven heats more evenly and lasts longer, so a little maintenance pays off:
- After each use, once things cool, slide out the crumb tray and empty it. Loose crumbs are the number-one cause of smoke and odor.
- Wipe the interior when fully cool with a damp cloth and a little mild dish soap. Never spray water or cleaner directly onto the elements.
- Hand-wash the racks and pans — most aren’t dishwasher-safe, and the dishwasher dulls their finish over time.
- Don’t gouge nonstick interiors or pans. Skip steel wool, scouring pads, and metal utensils; they scratch the coating, which then flakes and cooks unevenly. A soft sponge is all you need.
Do this consistently and even an inexpensive oven stays reliable. For a full model-by-model rundown of what to buy in the first place, start with our best toaster ovens guide.
Cookloom is reader-supported. Some links to gear are affiliate links, and we may earn a commission — it never changes our recommendations or what we cover.
Sources
- Manufacturer product specifications and use-and-care manuals (Breville, Cuisinart) for documented functions, controls, and cleaning guidance
- America’s Test Kitchen and Serious Eats countertop-oven coverage on preheating, rack positioning, and convection technique
- Consumer Reports toaster-oven ratings and safety guidance on clearance and heat exposure
- General appliance manufacturer safety documentation on first-use burn-off, ventilation, and nonstick care